The Inspiration
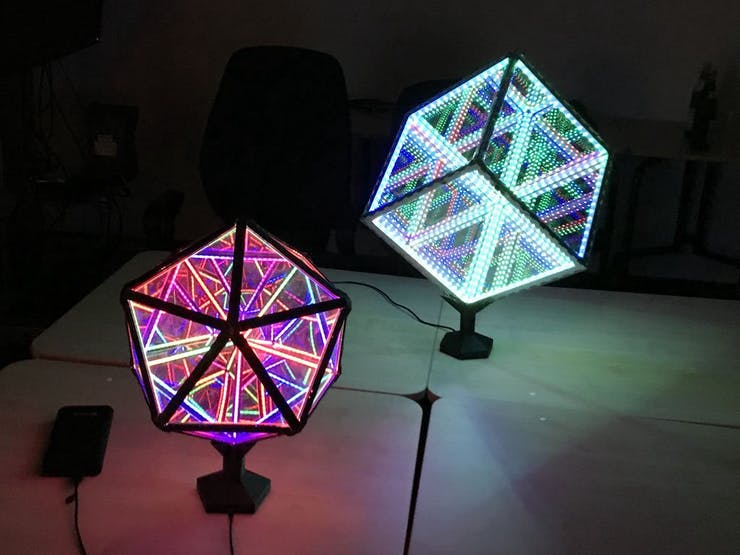
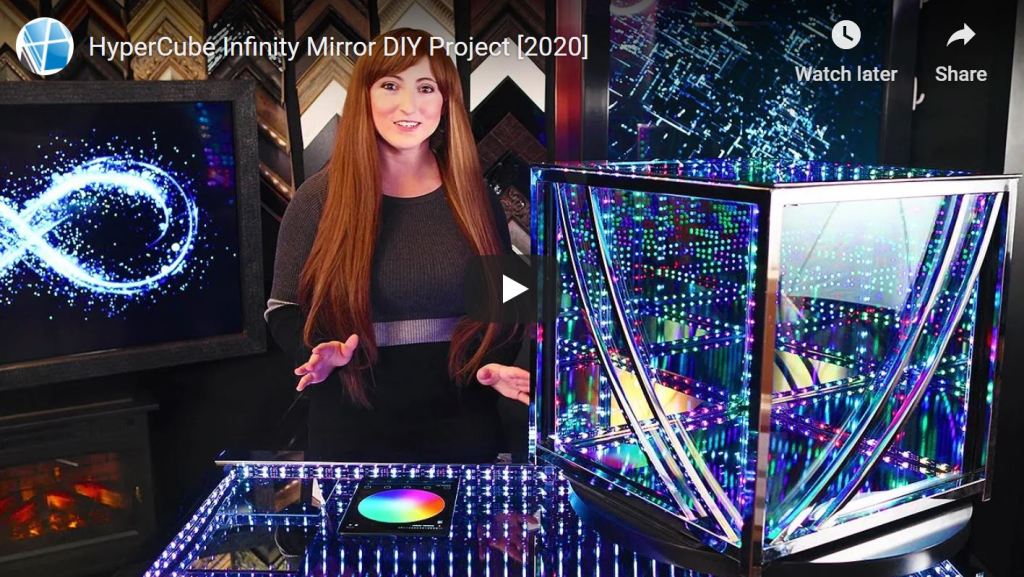
The project for this began after seeing some amazing infinity mirror artwork on Pinterest and Two Way Mirrors (I definitely recommend checking out their blog and YouTube channel!). They also give a great breakdown of different projects that artists have made and what materials are best for the variety of projects. So we decided this would make a great gift to each other for our second anniversary. I also wanted to see how easy and cheap this project could be!

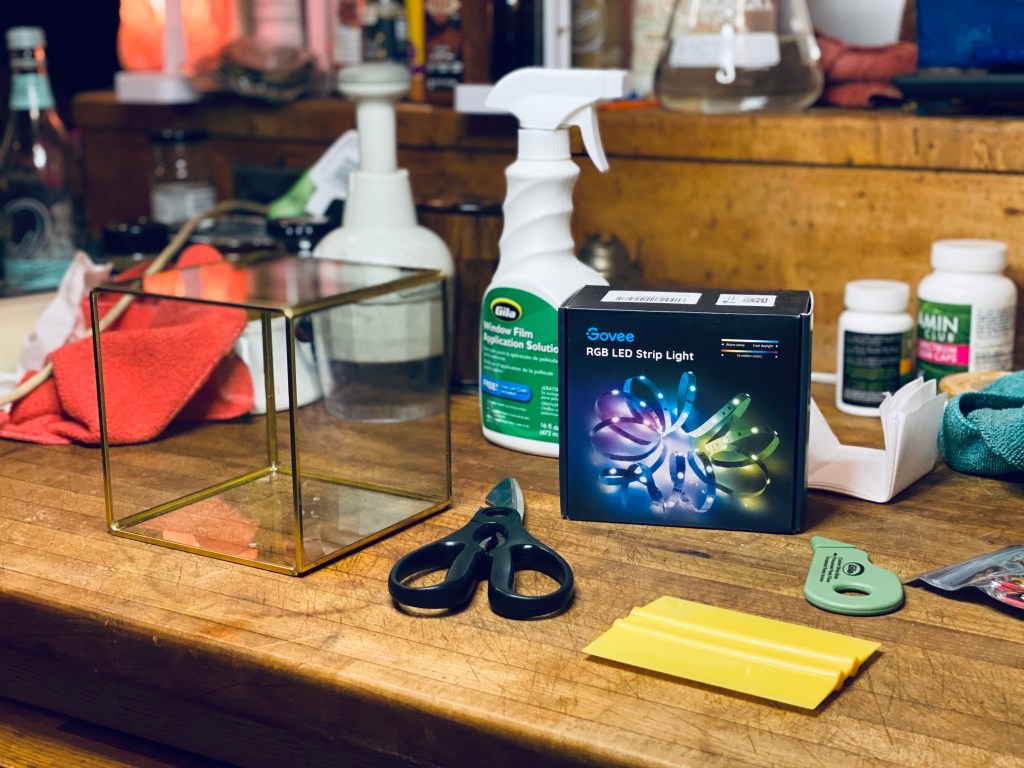
What You Will Need
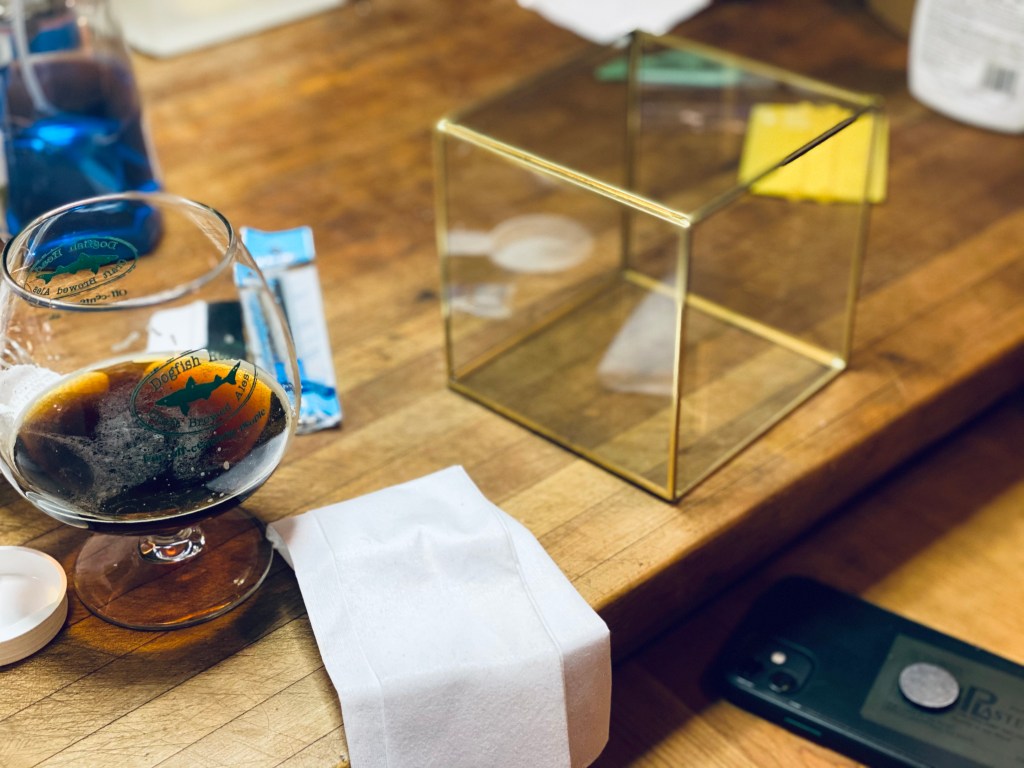
- Cube(s) (I used a terrarium/lantern cube) that was about 5″x5″x5″
- You could also order the acrylic pieces cut to size with finished edges to then glue them together but it will cost a great deal more. Or you could build a frame around the glass. I just thought this was easier.
- One-Way Mirror Film
- Window Film Application Kit
- LED Light Strip
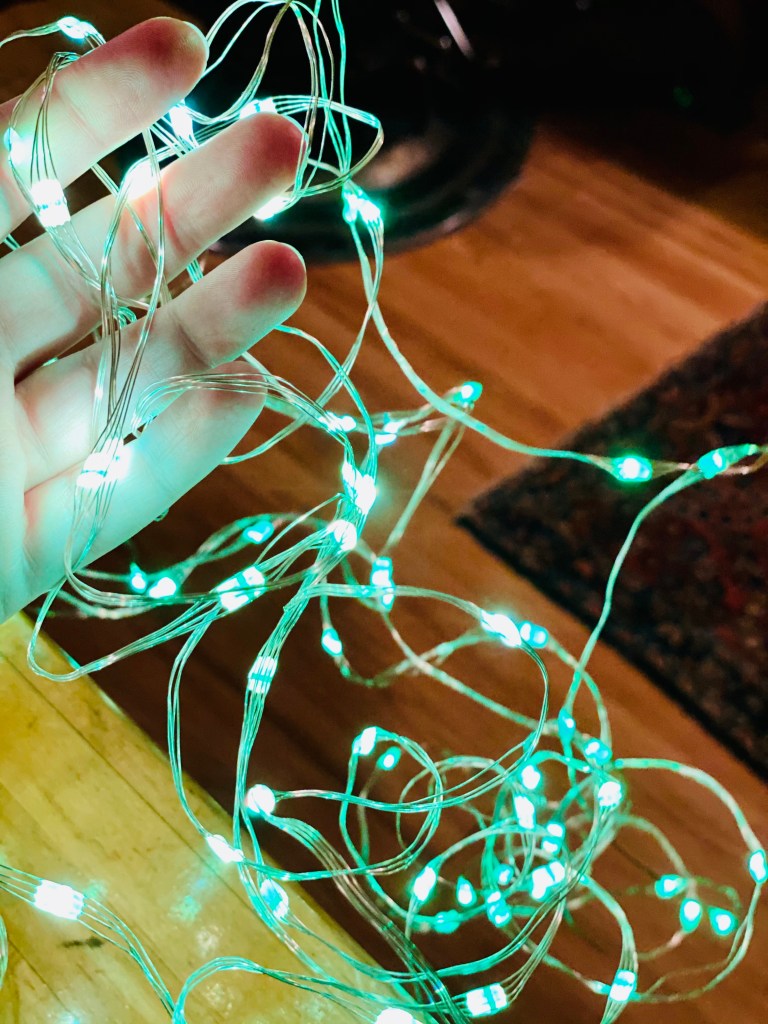
- LED Fairy Lights
- Mirrored Glass/Acrylic Base
- We had extras but I really like Delvie’s Plastics for materials and they will cut it to size for you
- UV Glue
- (Optional) LED Connectors
- Total: $95 for 2 infinity cubes
The Design
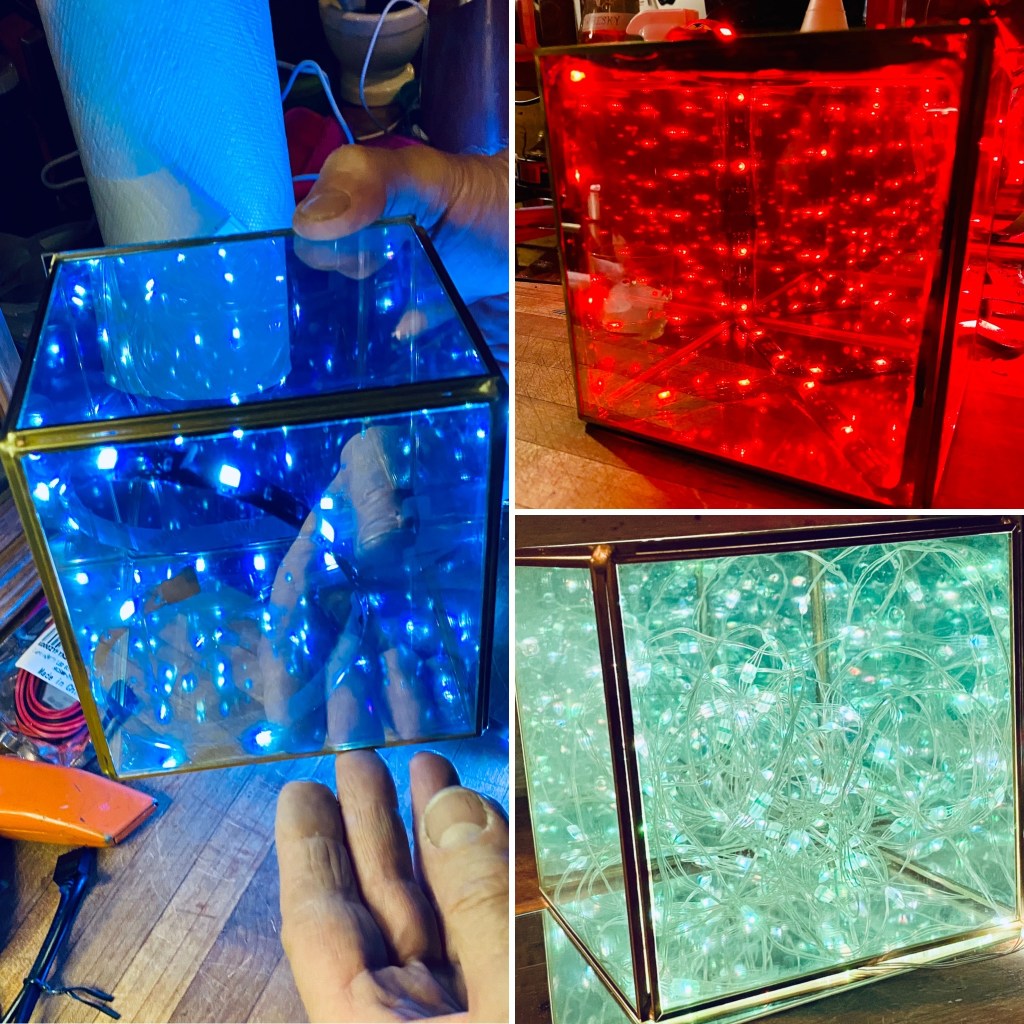
First, you begin by cleaning the cube and prepping it for the one-way mirrored film application. You can either measure then cut the mirrored film and lay it on the cube (which is what we did) or you can apply it to the surface first then trim afterwards (probably would have been faster but not as neat).

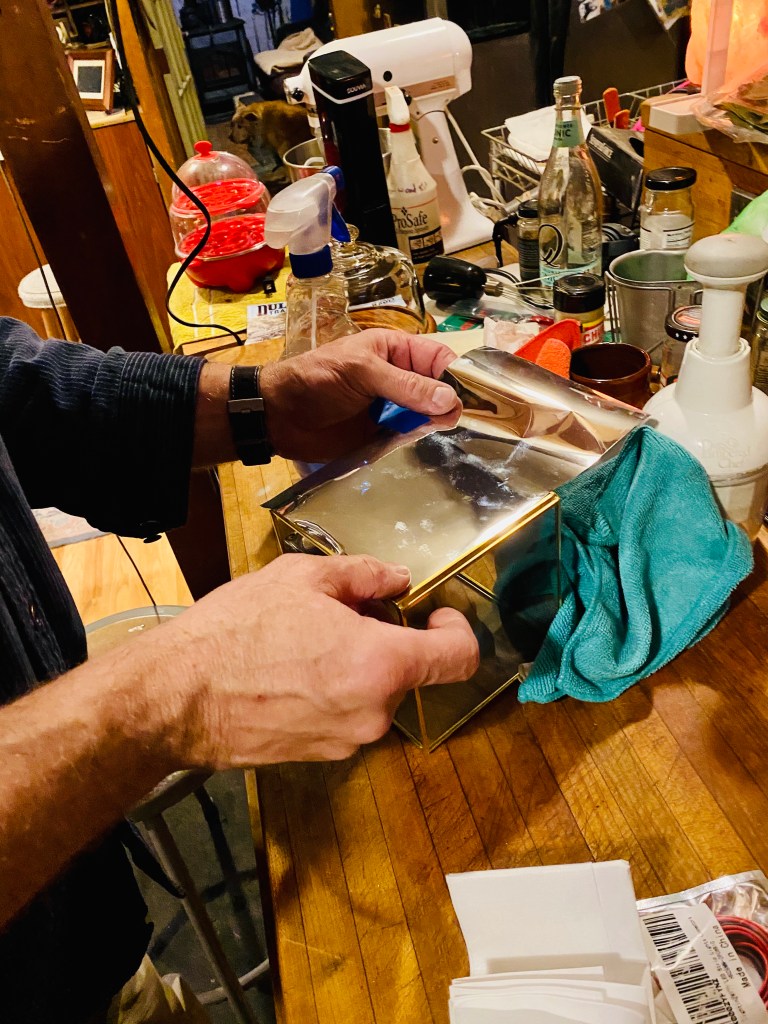
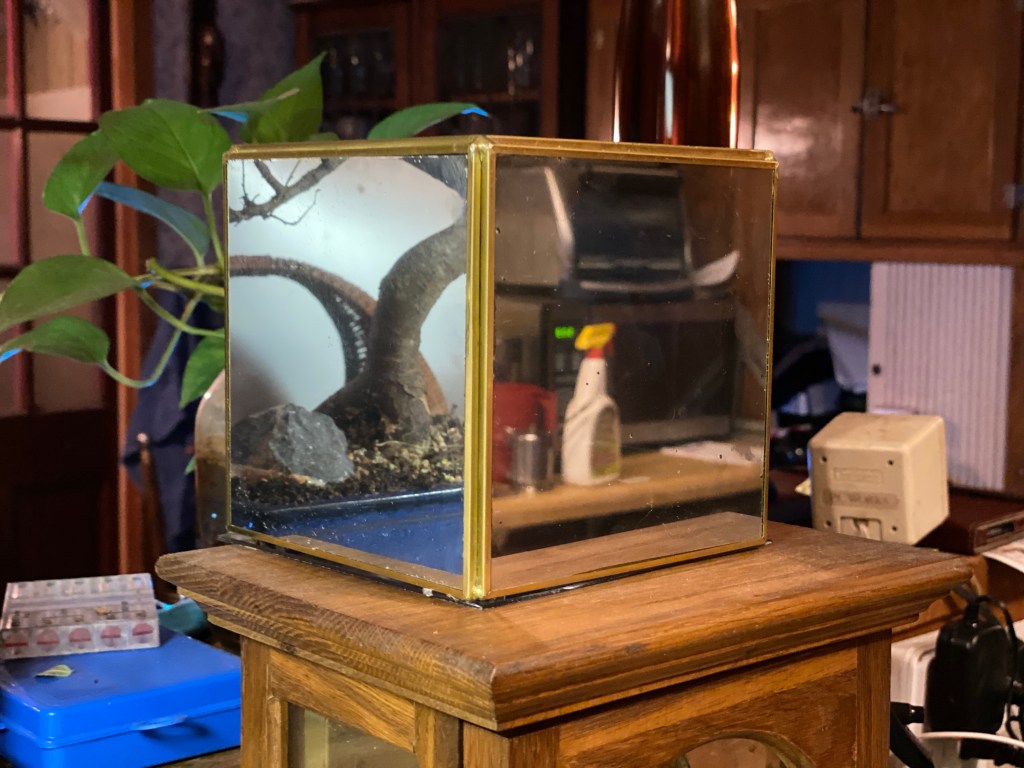
After cleaning the cube, be sure to spray A TON of window film application solution (SERIOUSLY – DO NOT BE SHY ABOUT HOW MUCH). This helps getting the mirrored film in the correct location without it sticking to the cube just yet. You can dab the extra liquid off with a tissue. It will dry on its own but be careful not to move it too much in the process. By the end of this process, it will look like a mirrored cube that is missing one side basically.

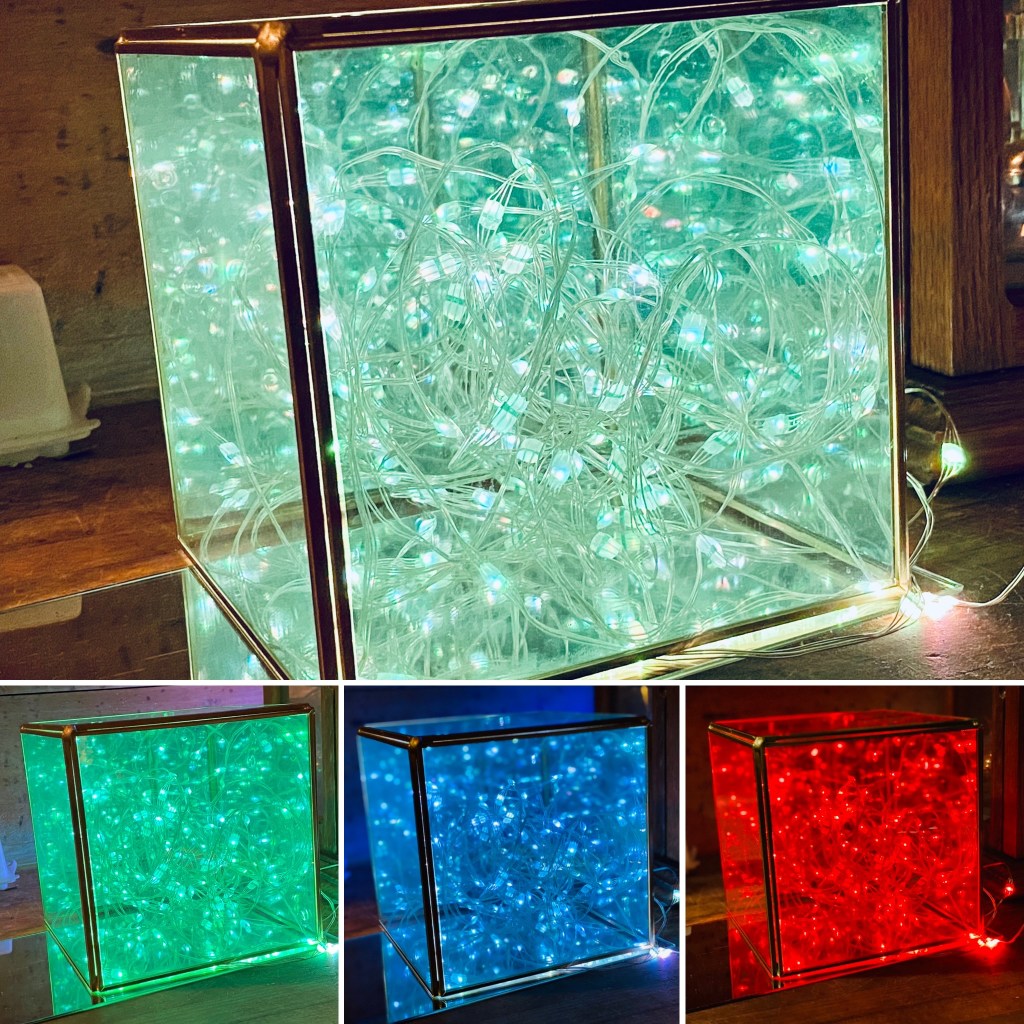
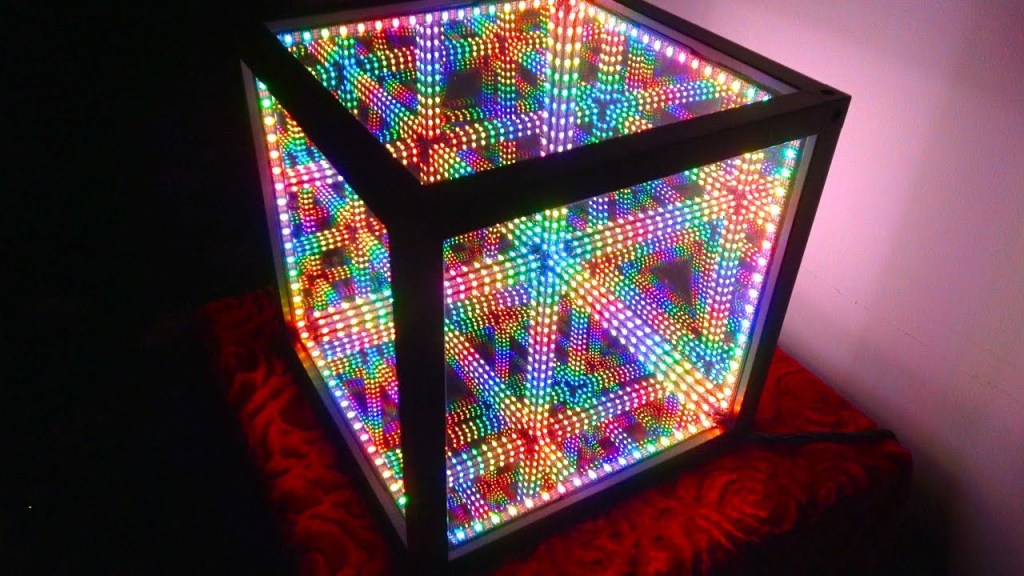
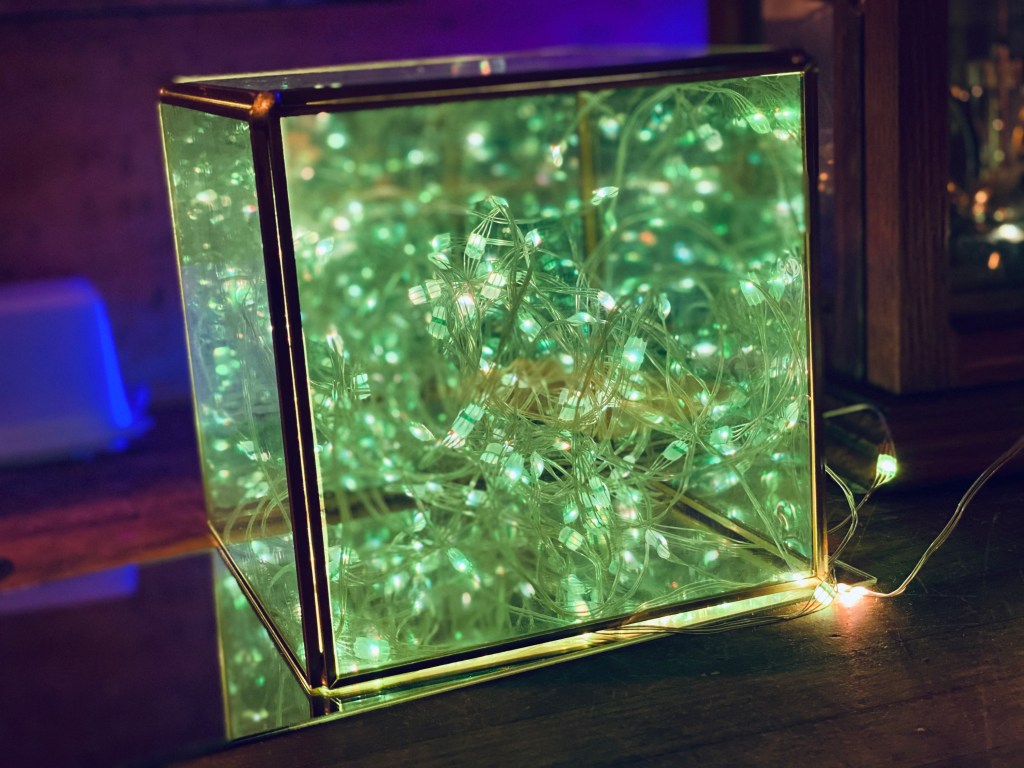
After letting the mirrored film dry and then stick to the surface of the cube, you can begin configuring your LED lights. For one of the projects, I just wanted LED fairy lights in a giant bunch stuffed into the cube so that was easy. Be sure to get plastic coated ones however as the edges of this cube are brass so if an unprotected LED strip touches the brass, it will automatically short circuit the lights (oops!). That infinity cube is fairly simple and then when you add a piece of mirrored glass or mirrored acrylic under it, magic!


For the other infinity cube, you can design the LED strips in many directions (whatever design you feel looks best). Karl decided to go in a square outline shape with his and have them folded over on themselves basically so he wouldn’t have to solder unless he wanted to. Then you can trim the extra. However depending on the thickness of your LED strip, you might need to hot glue it into place. Another option would be to cut and solder each LED strip section you cut to make it very neat and catch more reflections. Just be sure to peel back the sticky part of the LED strip to then solder the wires together (and as always black goes to black and red goes to red). Honestly whatever design you choose will look amazing!

Now to add the final part: cut or have a piece of mirrored glass or mirrored acrylic ready to attach to the bottom of your cube. This will give it the infinity effect. You can cut out a hole for the LED strip to come out of or have a battery operated one instead (just be sure to make a space in the cube for it that is not going to be seen). Then add some UV glue and you are all done!