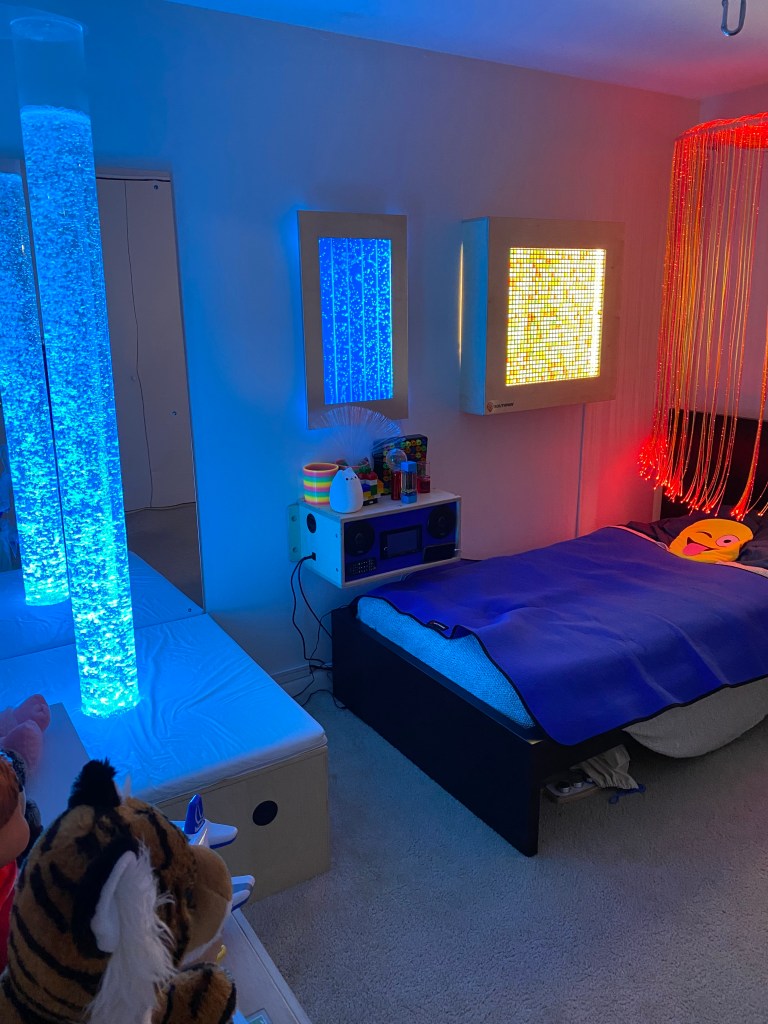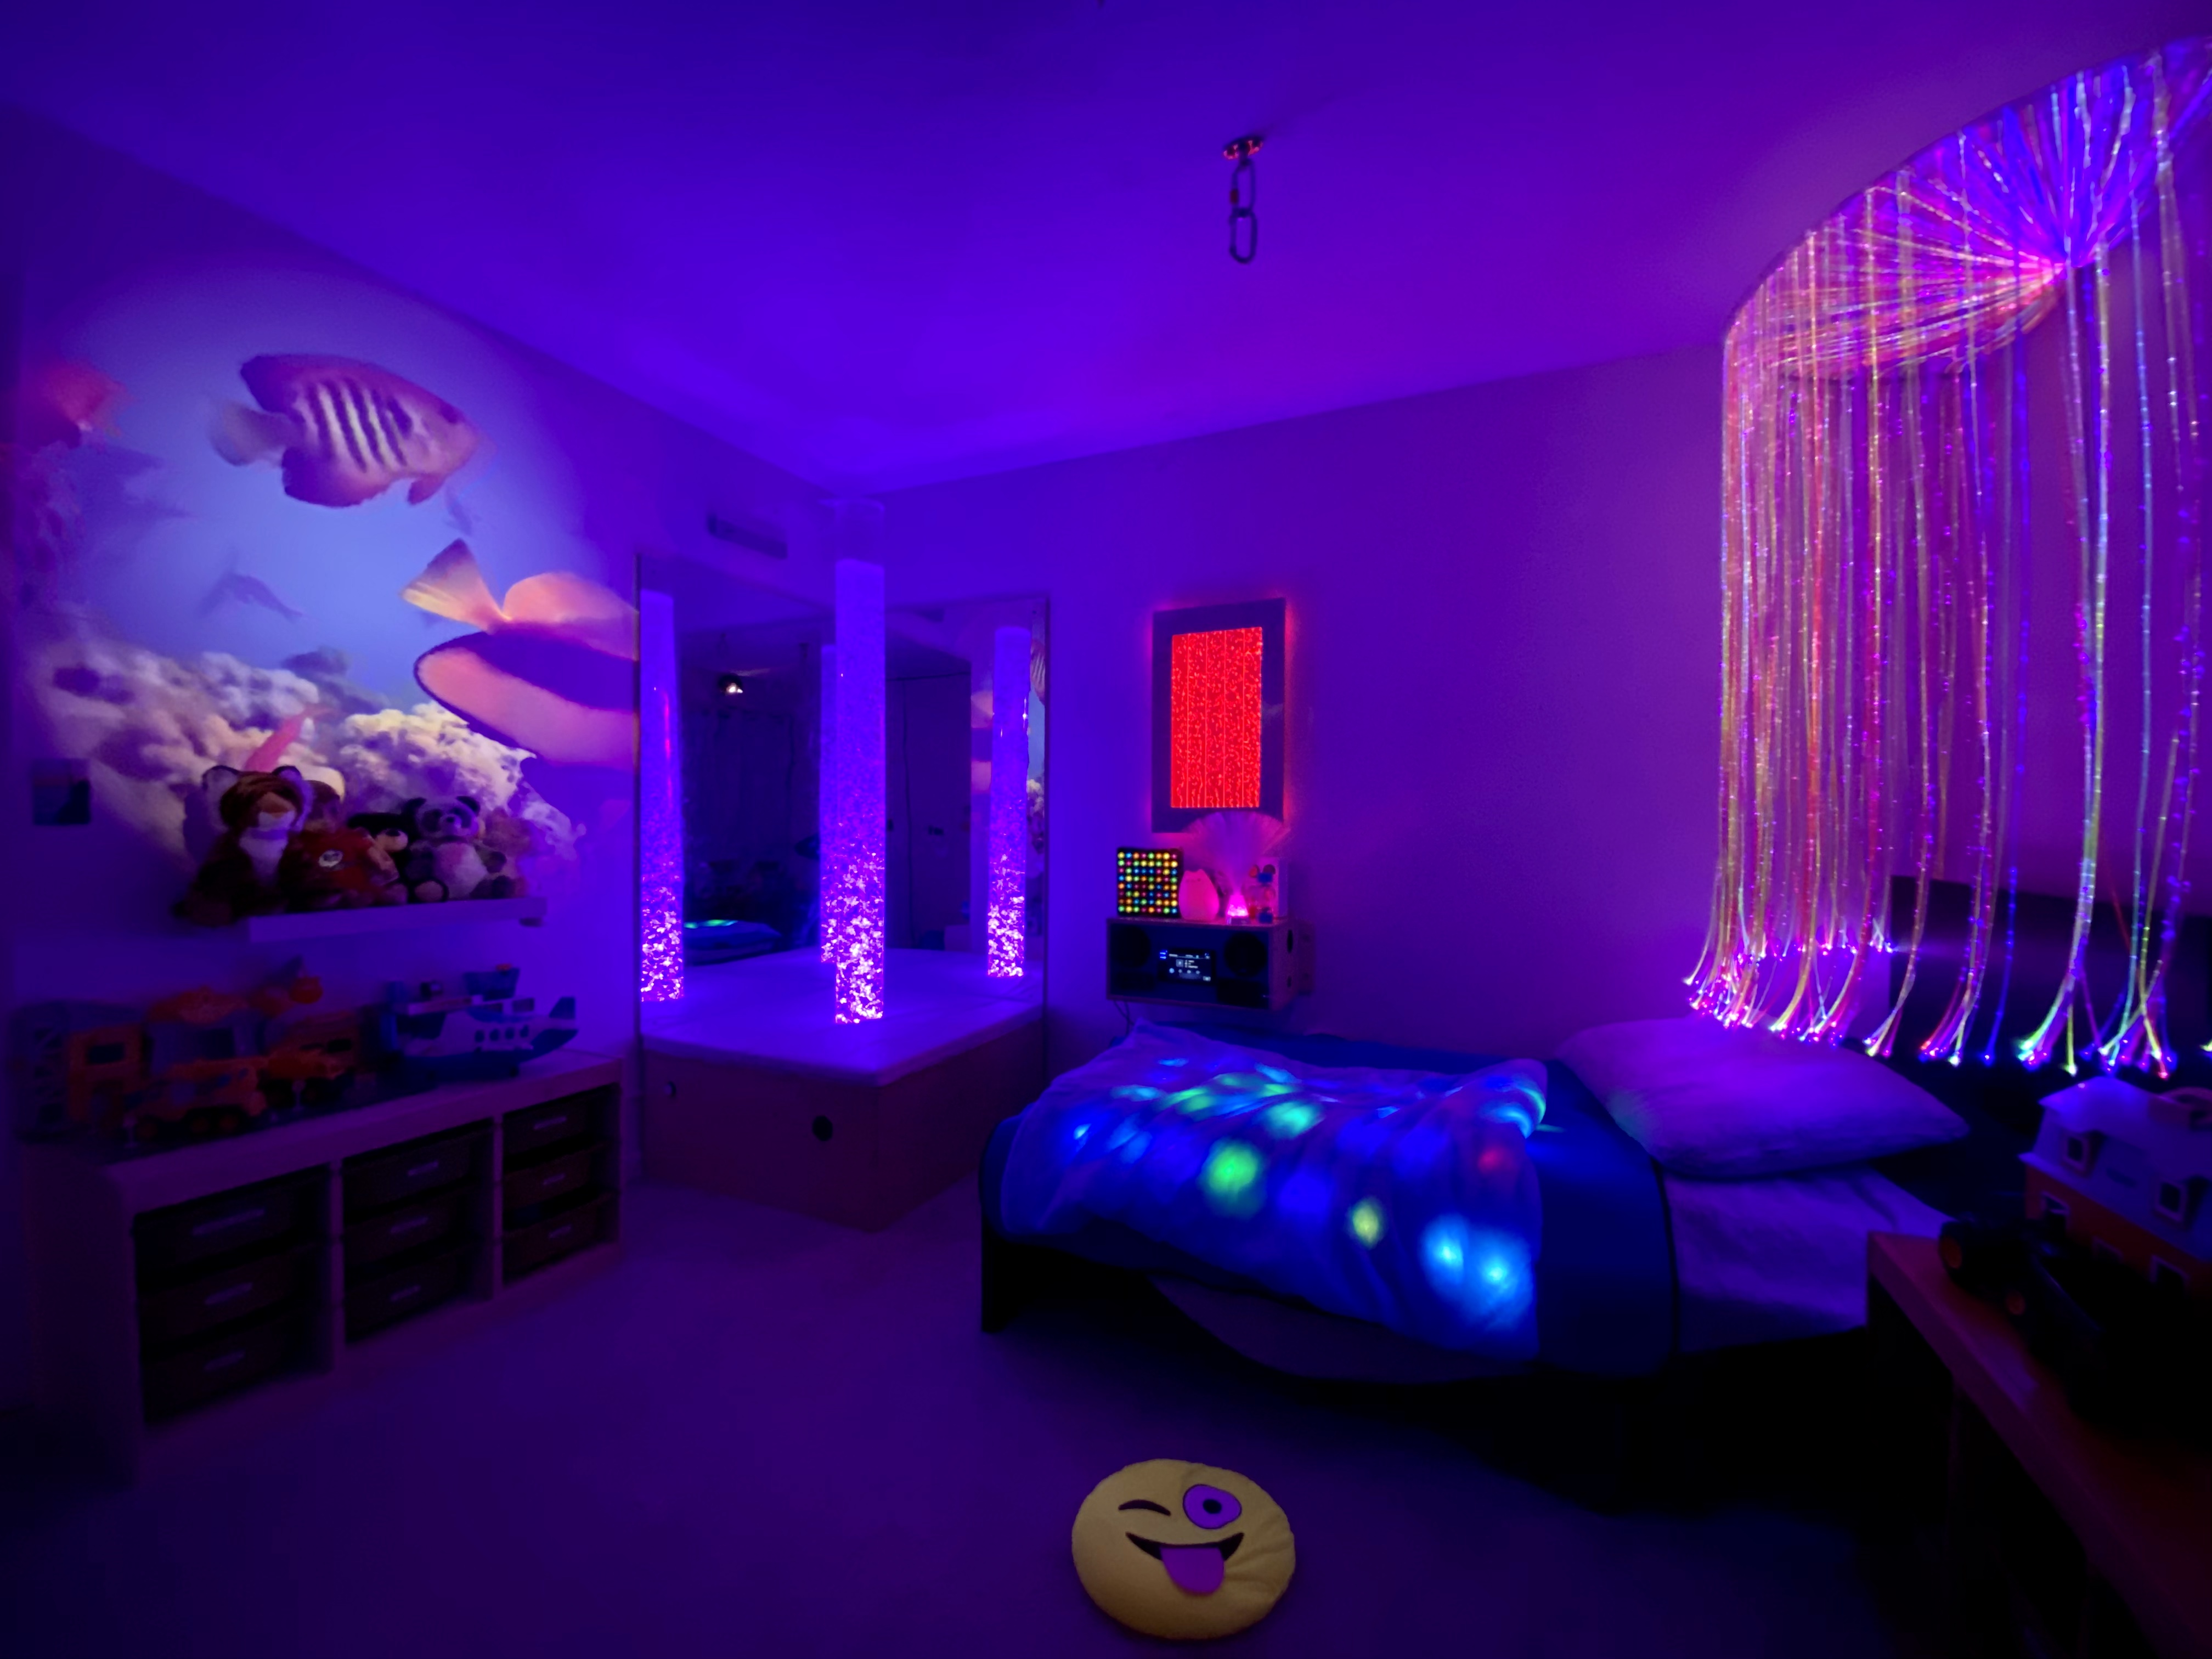

Benefits of a Water in a Sensory Space
Research has shown that water can induce a mildly meditative state of focus and awareness, with benefits in creating mindfulness, lowering stress levels, relieving anxiety, pain, and depression, improving mental clarity, and improving sleep quality.
In an article published by the Washington Post, they reference a marine biologist named Wallace J. Nichols, who has coined the phrase, the “blue mind.” Nichols has even written a book on the subject, and has described it as, “the surprising science that shows how being near, in, on, or under water can make you happier, healthier, more connected, and better at what you do.”
The article then goes on to say that many people aren’t able to afford to live near the ocean, and therefore have to find alternative ways to experience the “blue mind” without packing up their belongings and moving to a beachfront property. This is where bubble walls are a great solution!
Everyone tends to focus exclusively on the physical health benefits of drinking plenty of water, but with all of the benefits it’s amazing how much we overlook the impact water can have on our state of mind. Making water a part of Tristan’s routine has tremendously helped in not only his socialization but also his independent regulation.
What You Will Need
- Two Acrylic Sheets (5mm thick)
- The bubble wall I made had the dimensions of: 30″ Tall x 18″ Wide x 1.5″ Deep
- Acme Plastics, Tap Plastics, and even local hardware stores are good sources
- At least two Acrylic strips (1″ wide but same length as the full acrylic sheets)
- Aluminum Frame or Aluminum Sheeting to hang on the wall (can be plastic or wood or frameless) – Local metal manufacturers will also do this!
- Rubber Sheet (optional)
- LED Strip (remote optional)
- 2-3 J-Channels (optional)
- Premium Aquarium Pump
- At least 6′ Tubing or Flexible Pipe
- A few check valves (these are usually included when you buy an aquarium pump but in case your pipe was a different size you can order them separately)
- Acrylic Piping (optional)
- 1 Gallon DISTILLED Water
- It is good to remember 1 gallon of water = 8 pounds of water!
- NEVER use tap water or mineral water because the mineral buildup will clog the bubbles!
- BCB Water Treatment Fluid (monthly treatment to keep bubble tubes and panels clear!)
- Universal Transparent Silicone (Acrylic Cement): I used Loctite Clear Silicone Waterproof Sealant
- Electrical Tape
- Silicone Rubber Tapered Plug
- Rubber Grommet
- Adhesive Wire Clips
- Thumb Tack
- Hair Dryer
- Funnel
- Smart Outlet (optional)
- Cord/Cable Covers (optional)
Bubble Panel Design
This DIY Bubble Wall was my first project for his sensory zen den and I could have designed it in two ways. I intentionally designed the panel to be able to be taken apart and cleaned out if needed. So I will be posting the LONGER version with pictures of when I had to clean the bubble panel out. Additionally, I will be making suggestions for a simpler route (albeit it won’t be able to be cleaned this way).
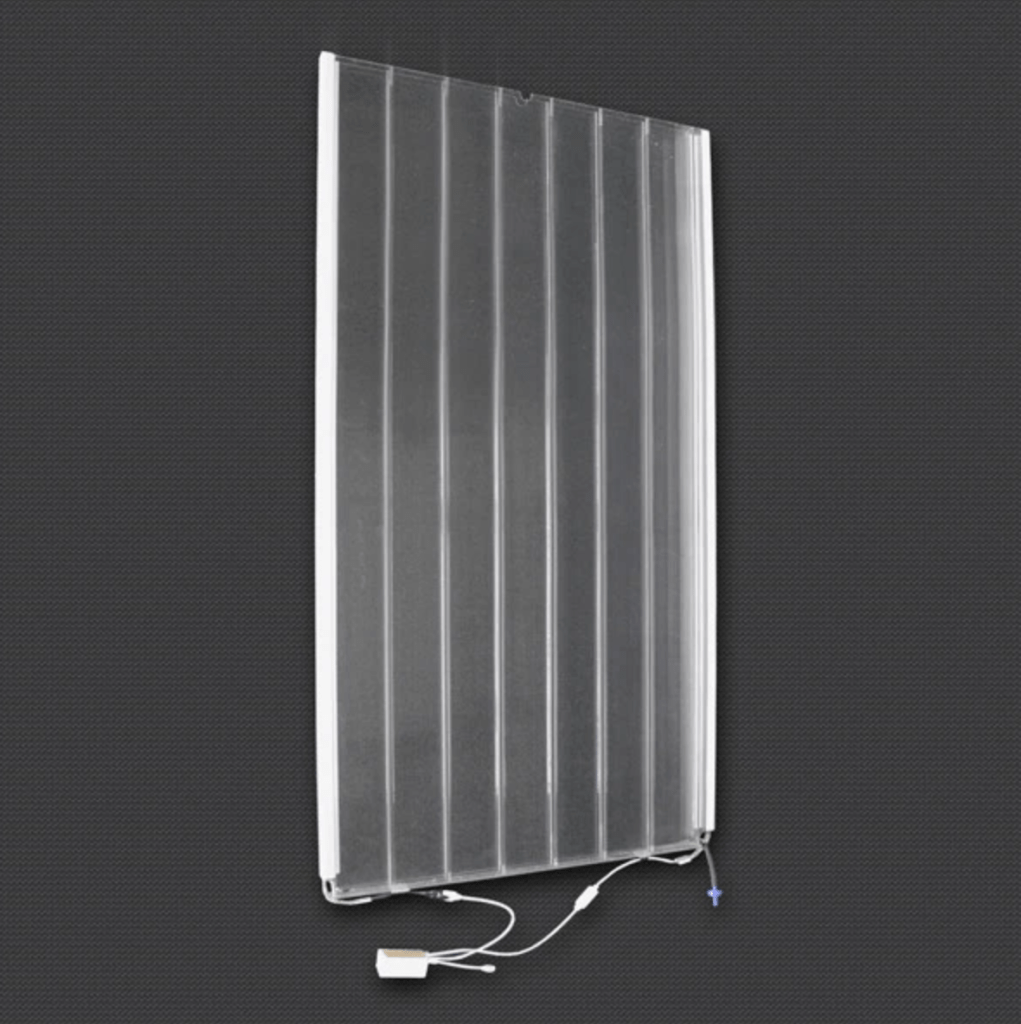
Acrylic Tank – This is the heart of the bubble wall. I wanted something high impact in case Tristan decided to see a cause and effect with hitting it (lol), so I chose acrylic. A fraction of the weight of glass, much safer, and many times stronger. There are a couple ways you could proceed. I had them custom make the paneling inside the acrylic panels for me from Tap Plastics. The bubble wall I made had the dimensions of: 30″ Tall x 18″ Wide x 1.5″ Deep with a wall thickness of 5mm. It included 11 pieces in total: two large panels plus 8 middle panels plus one bottom panel. Ithen used universal transparent silicone to attach and seal the segments together. You might be able to use “Clear Twinwall Polycarbonate Sheeting” as this already has the divides in the acrylic. NOTE: Be sure to be generous with the silicone especially at the bottom to prevent leakage! Finally you can cover part of the top of the tank with acrylic pieces or I used electrical tape leaving a hole at the top to use a funnel for filling it with distilled water.
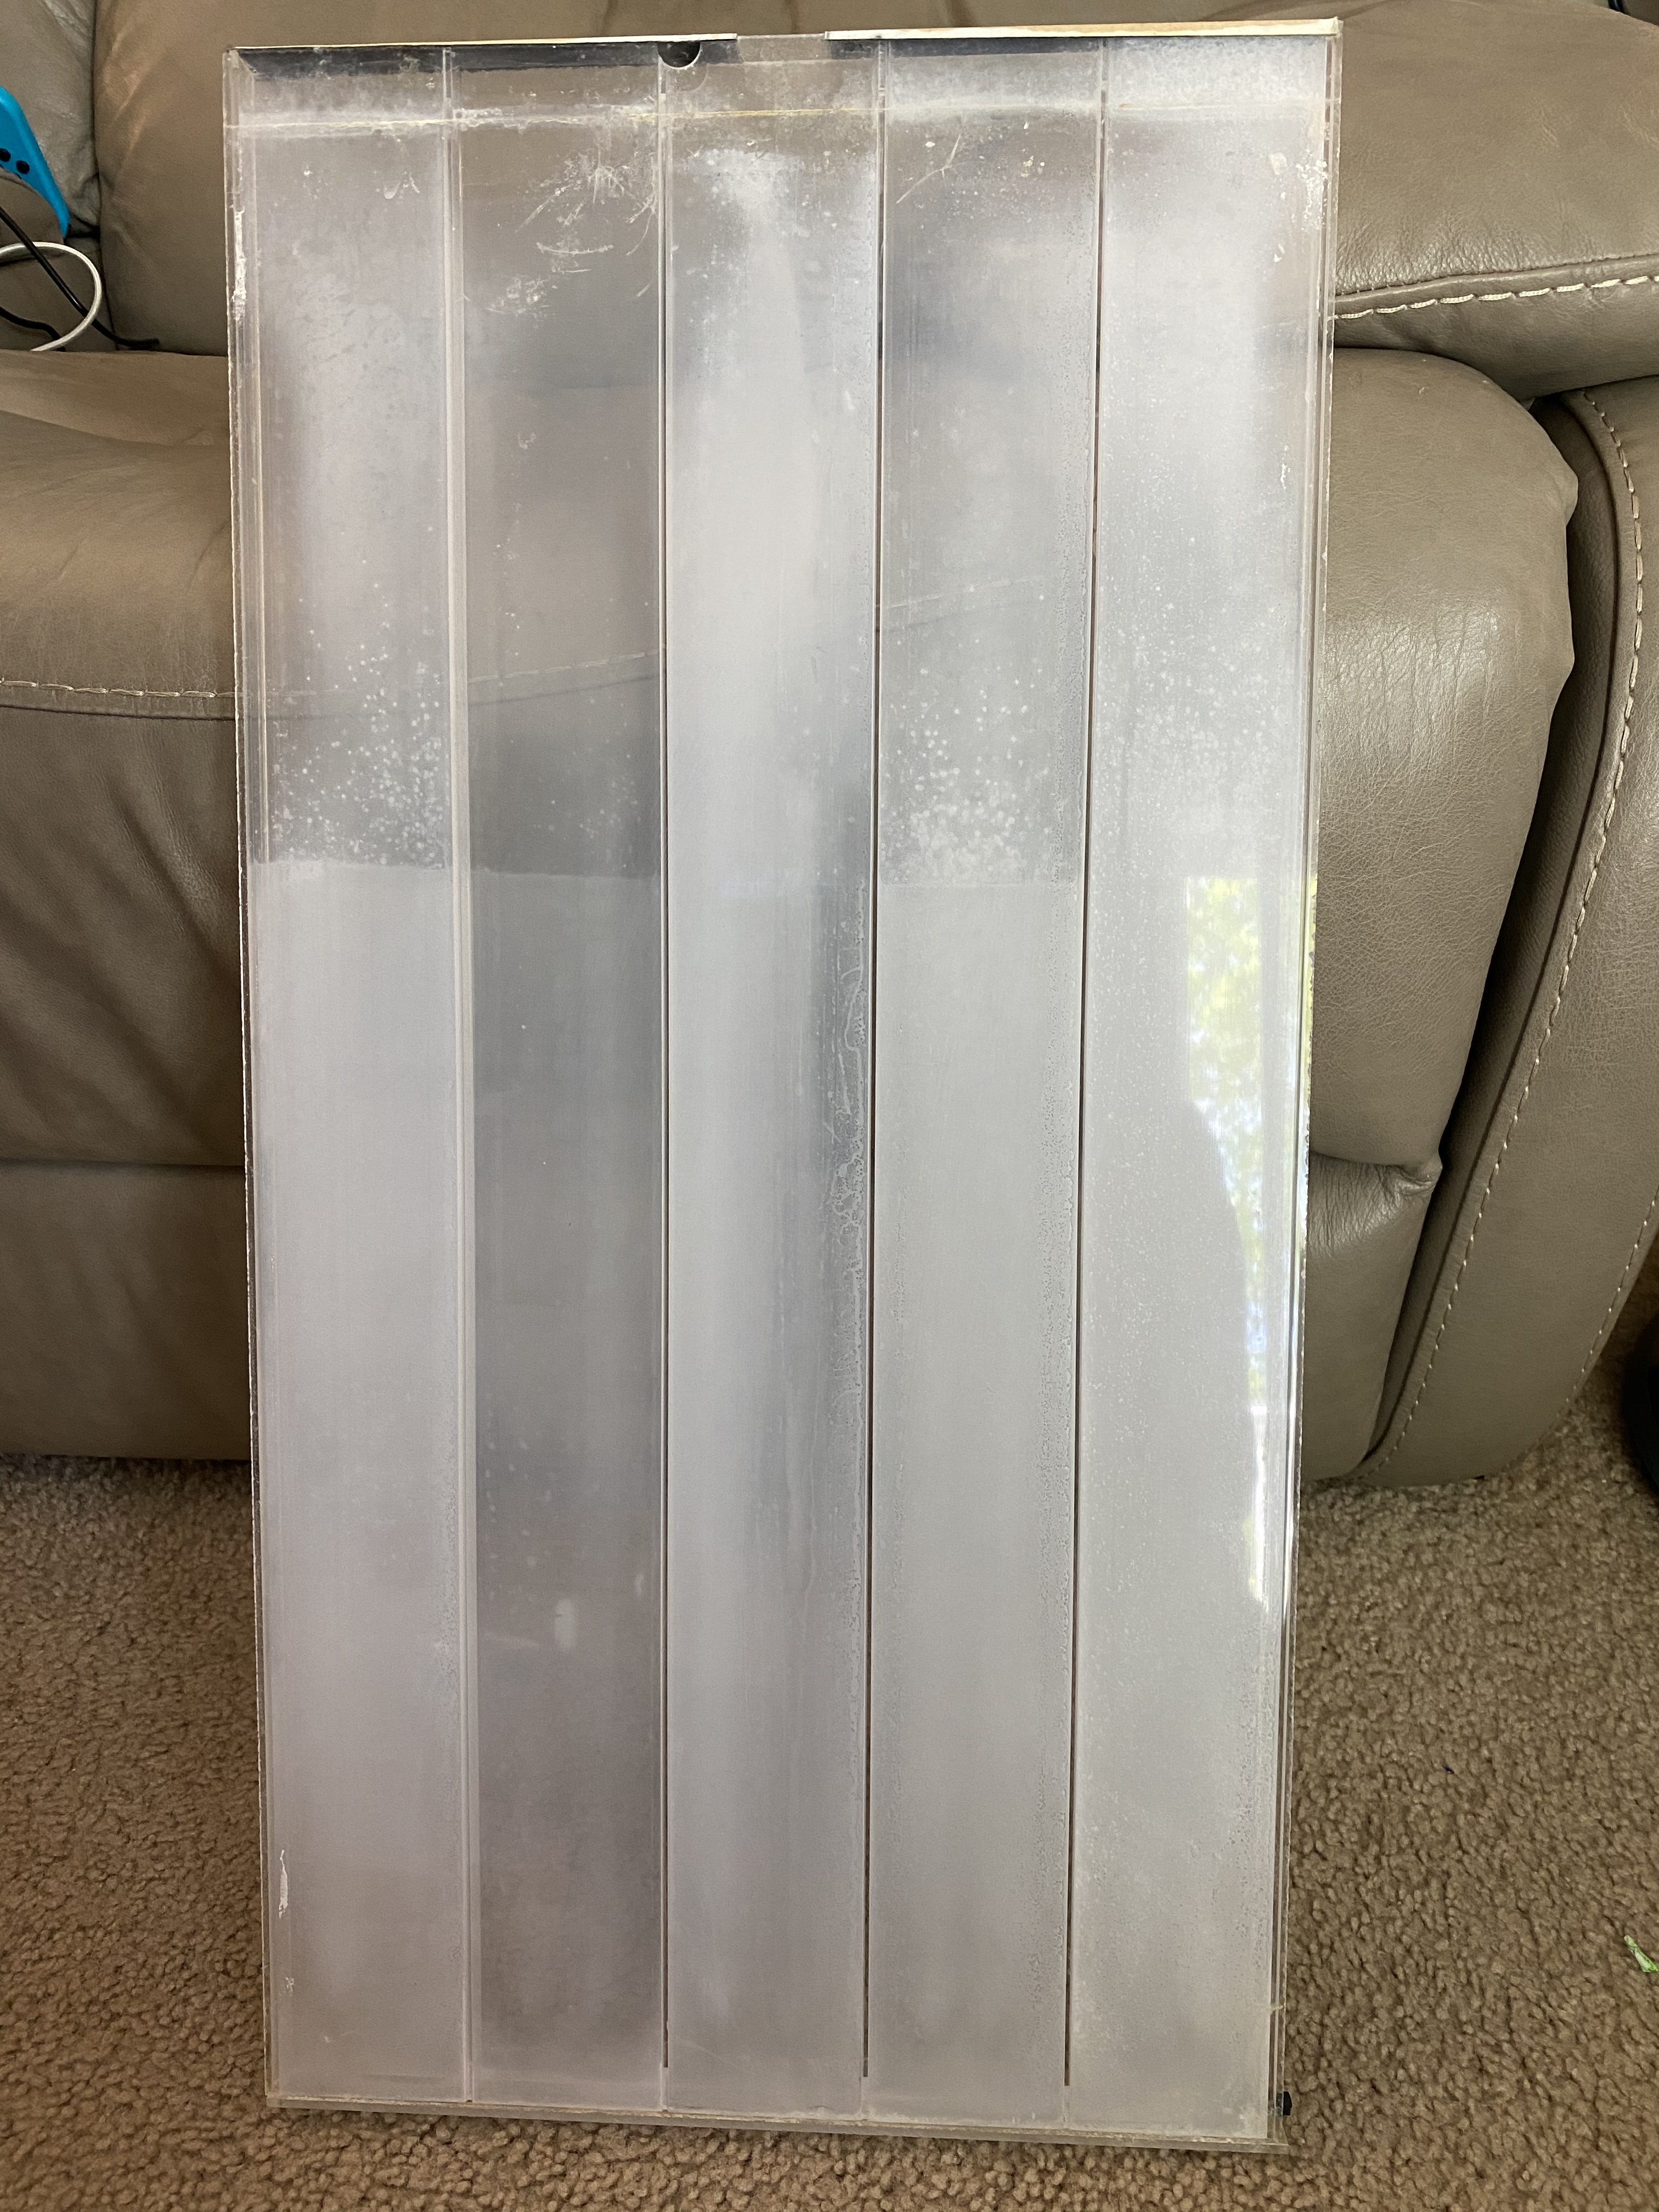
OPTION 2: Another option is to lay out the four acrylic pieces: two large panels and two 1″ wide strips that are the same length as your larger panels. Lay out the bottom panel and then use the universal transparent silicone to draw the panels shown above (and let harden), then to attach the two strips onto each side with the silicone. Use a thumb tack to push in holes into the tubing you purchased and then glue the tubing to the acrylic panel itself. This is a very simple way of achieving the bubble wall, however, it will not be able to be cleaned this way. So, when the water becomes milky from using regular water, time, and/or not using the BCB water treatment fluid (see picture below), you will have to start from scratch all over again. Here’s a video I found on YouTube about this design model.
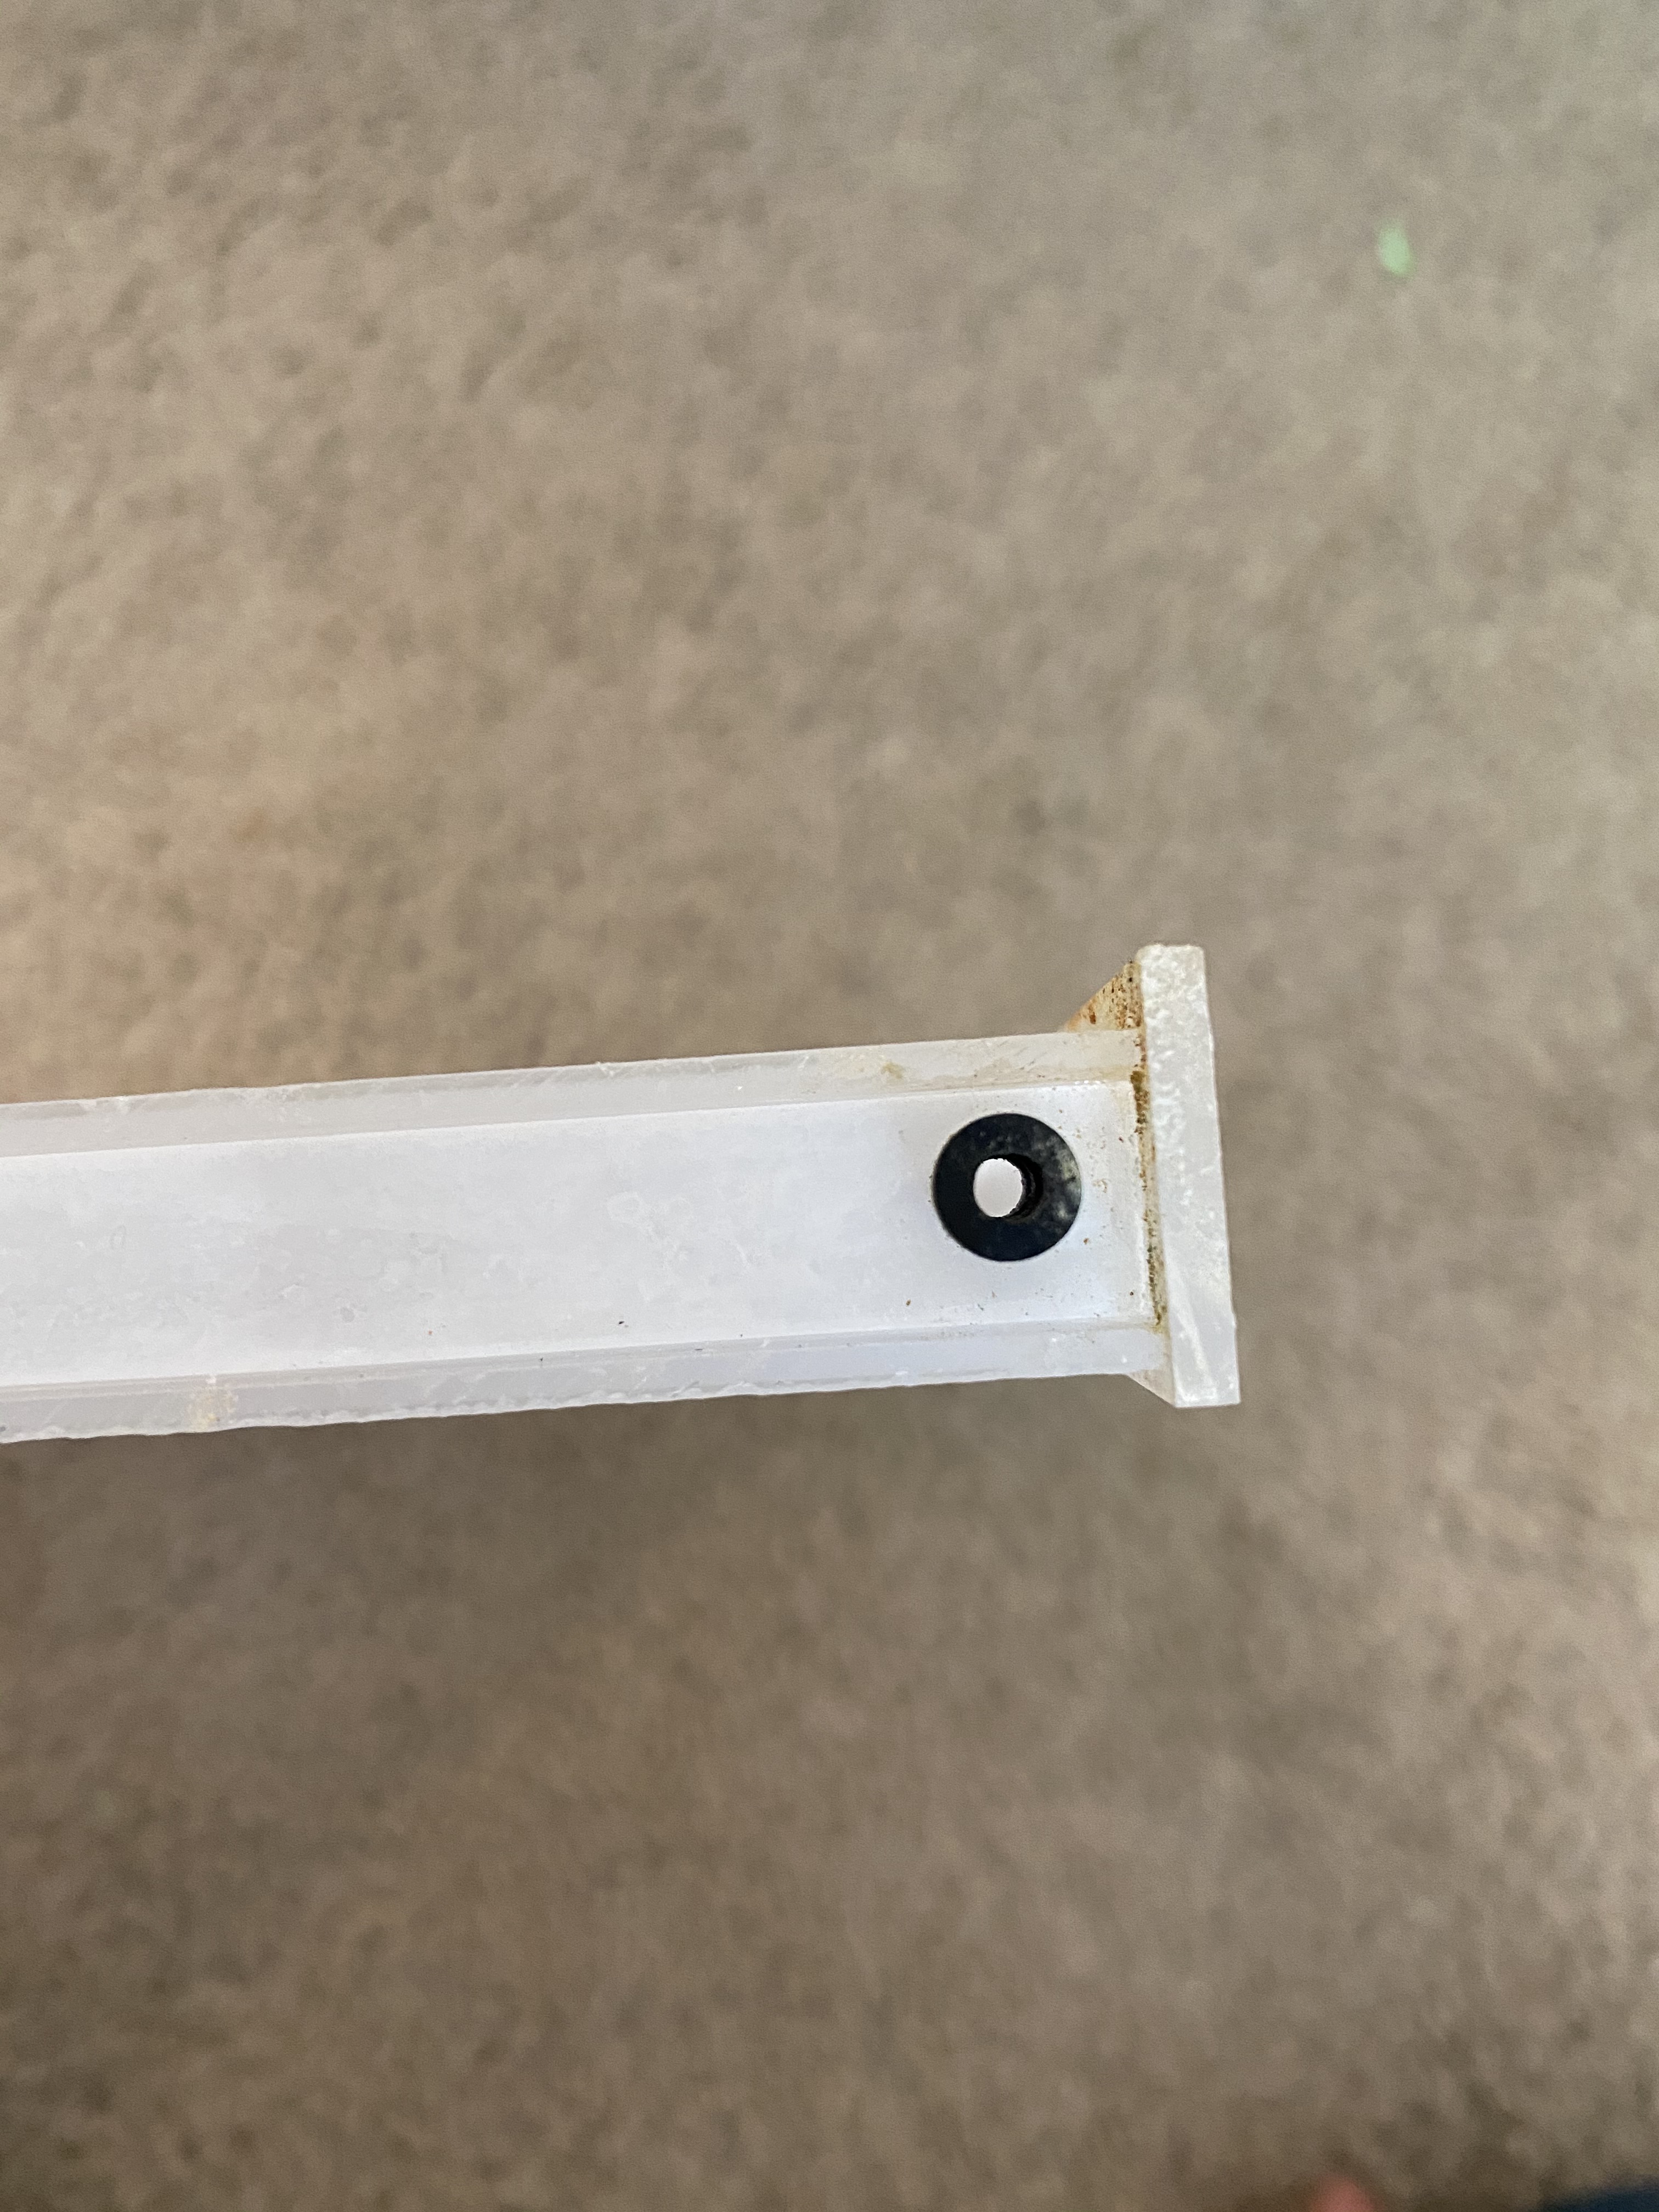
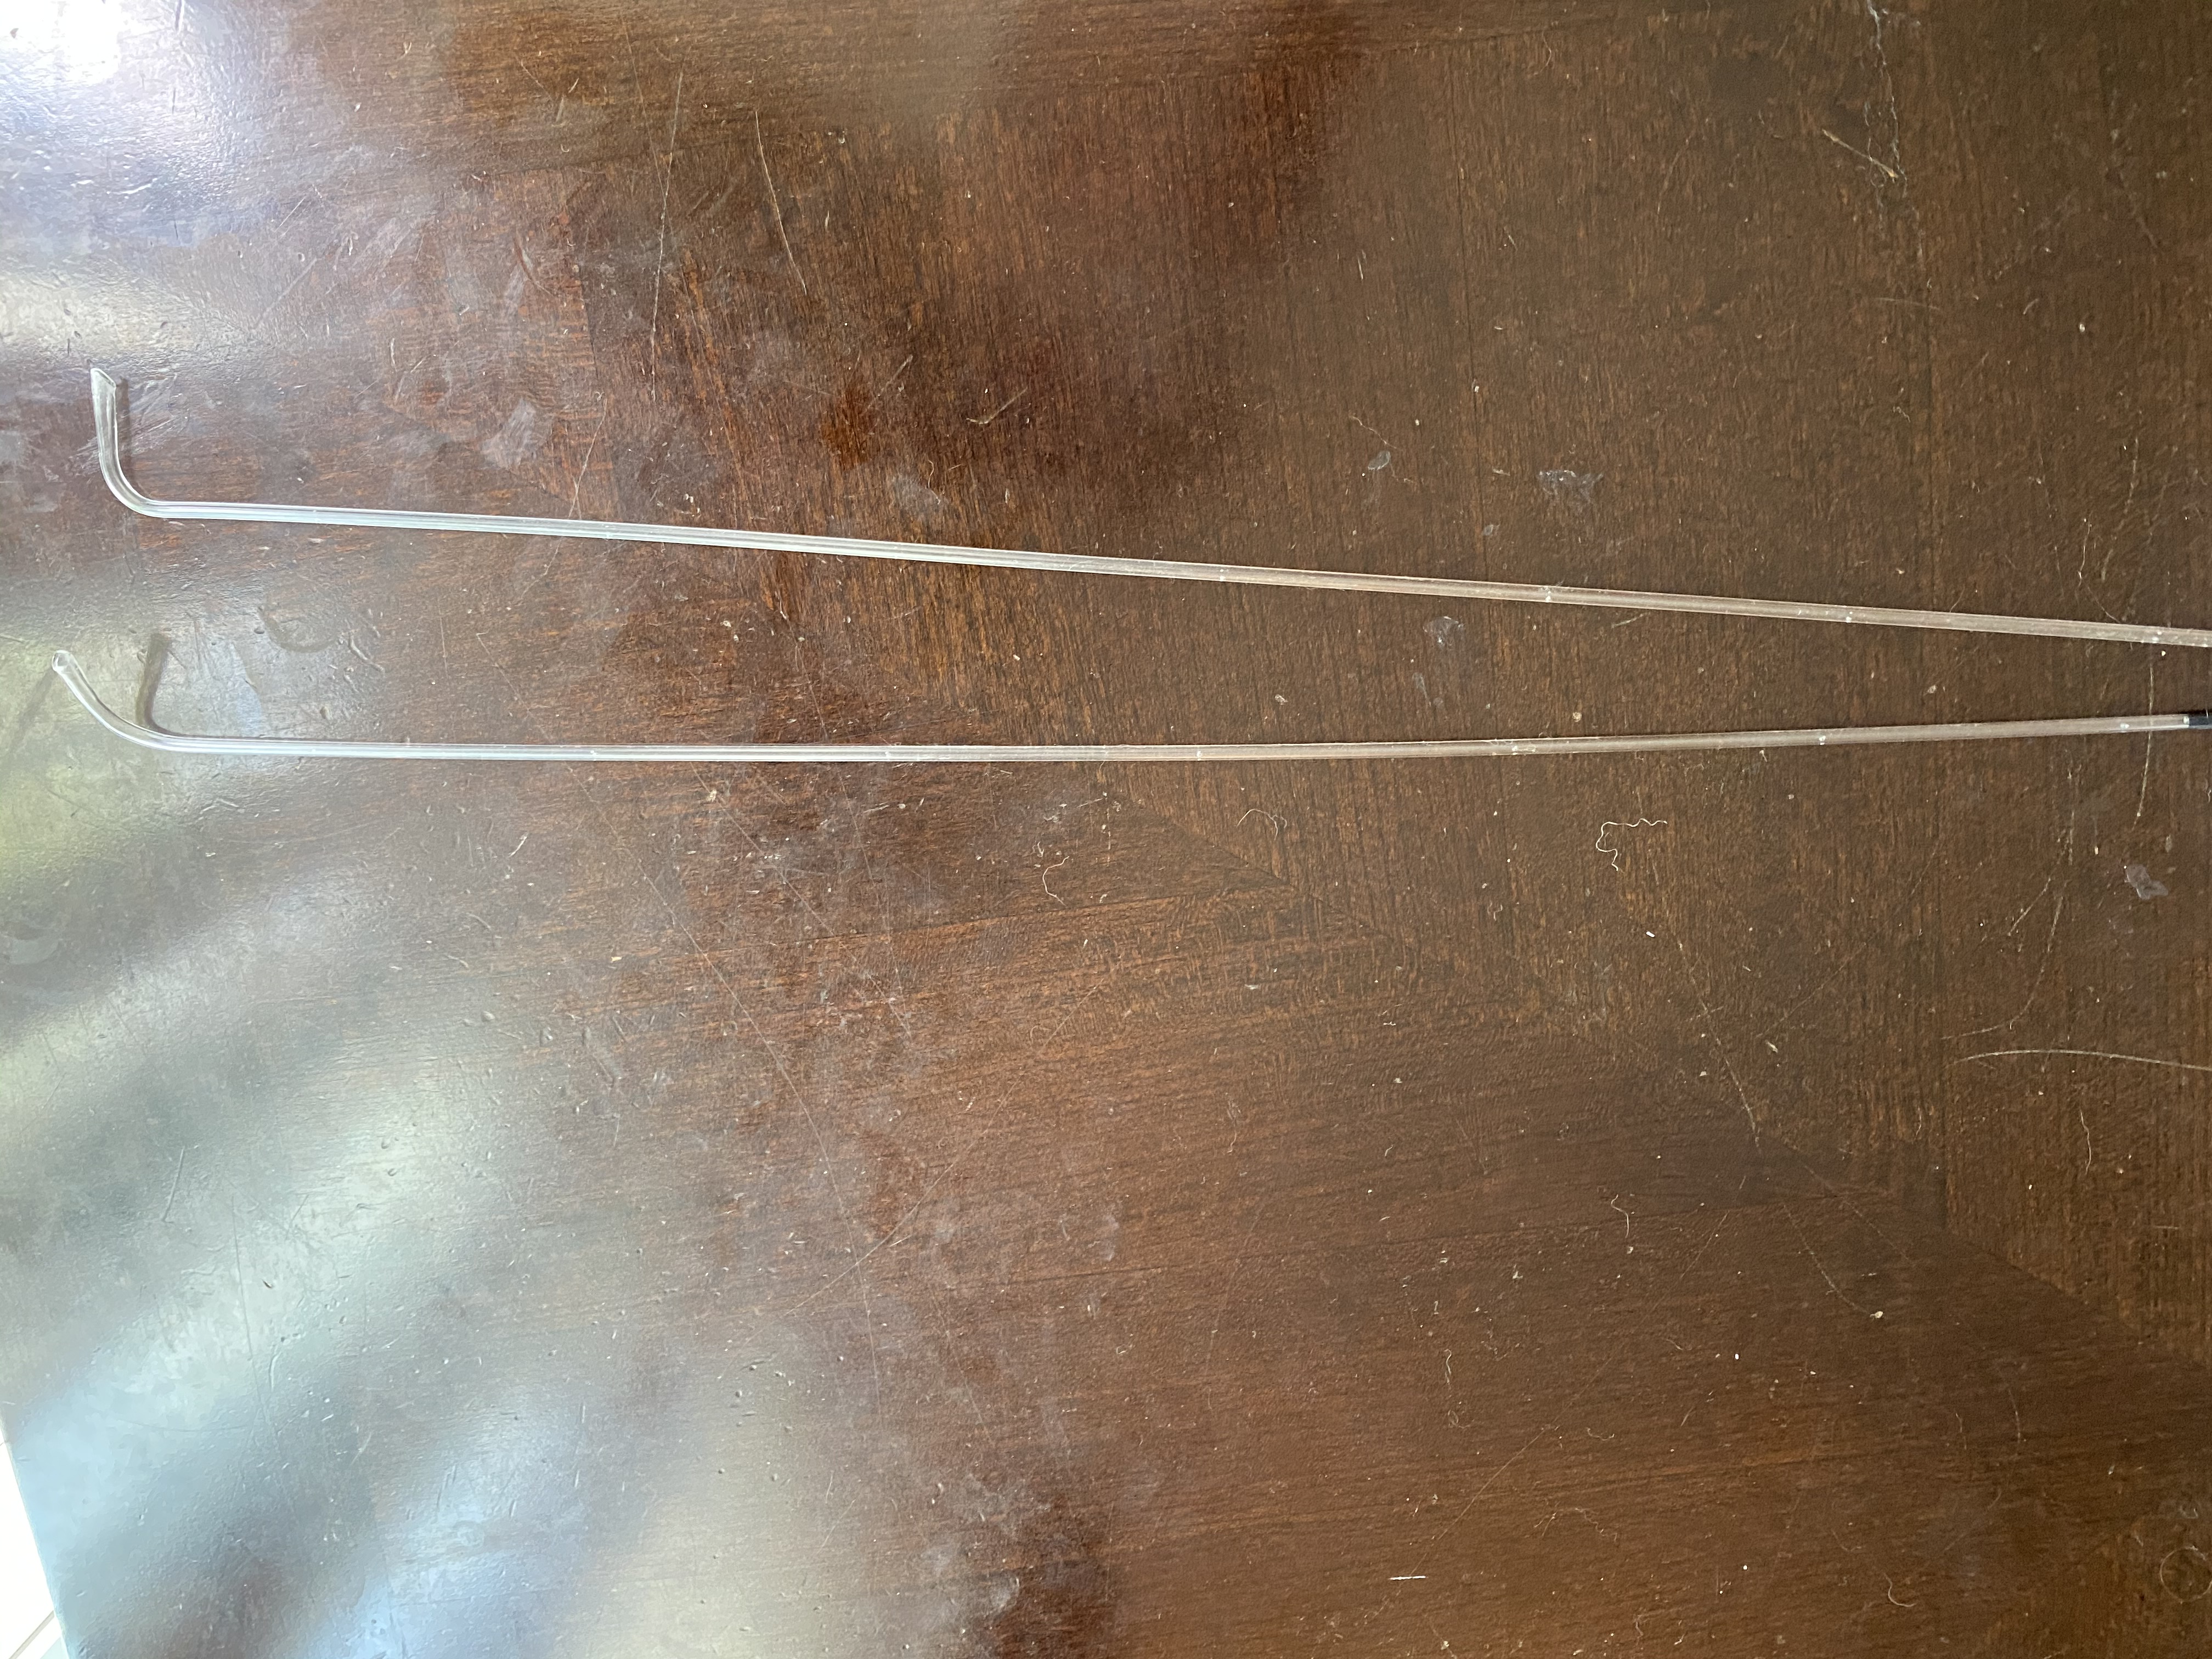
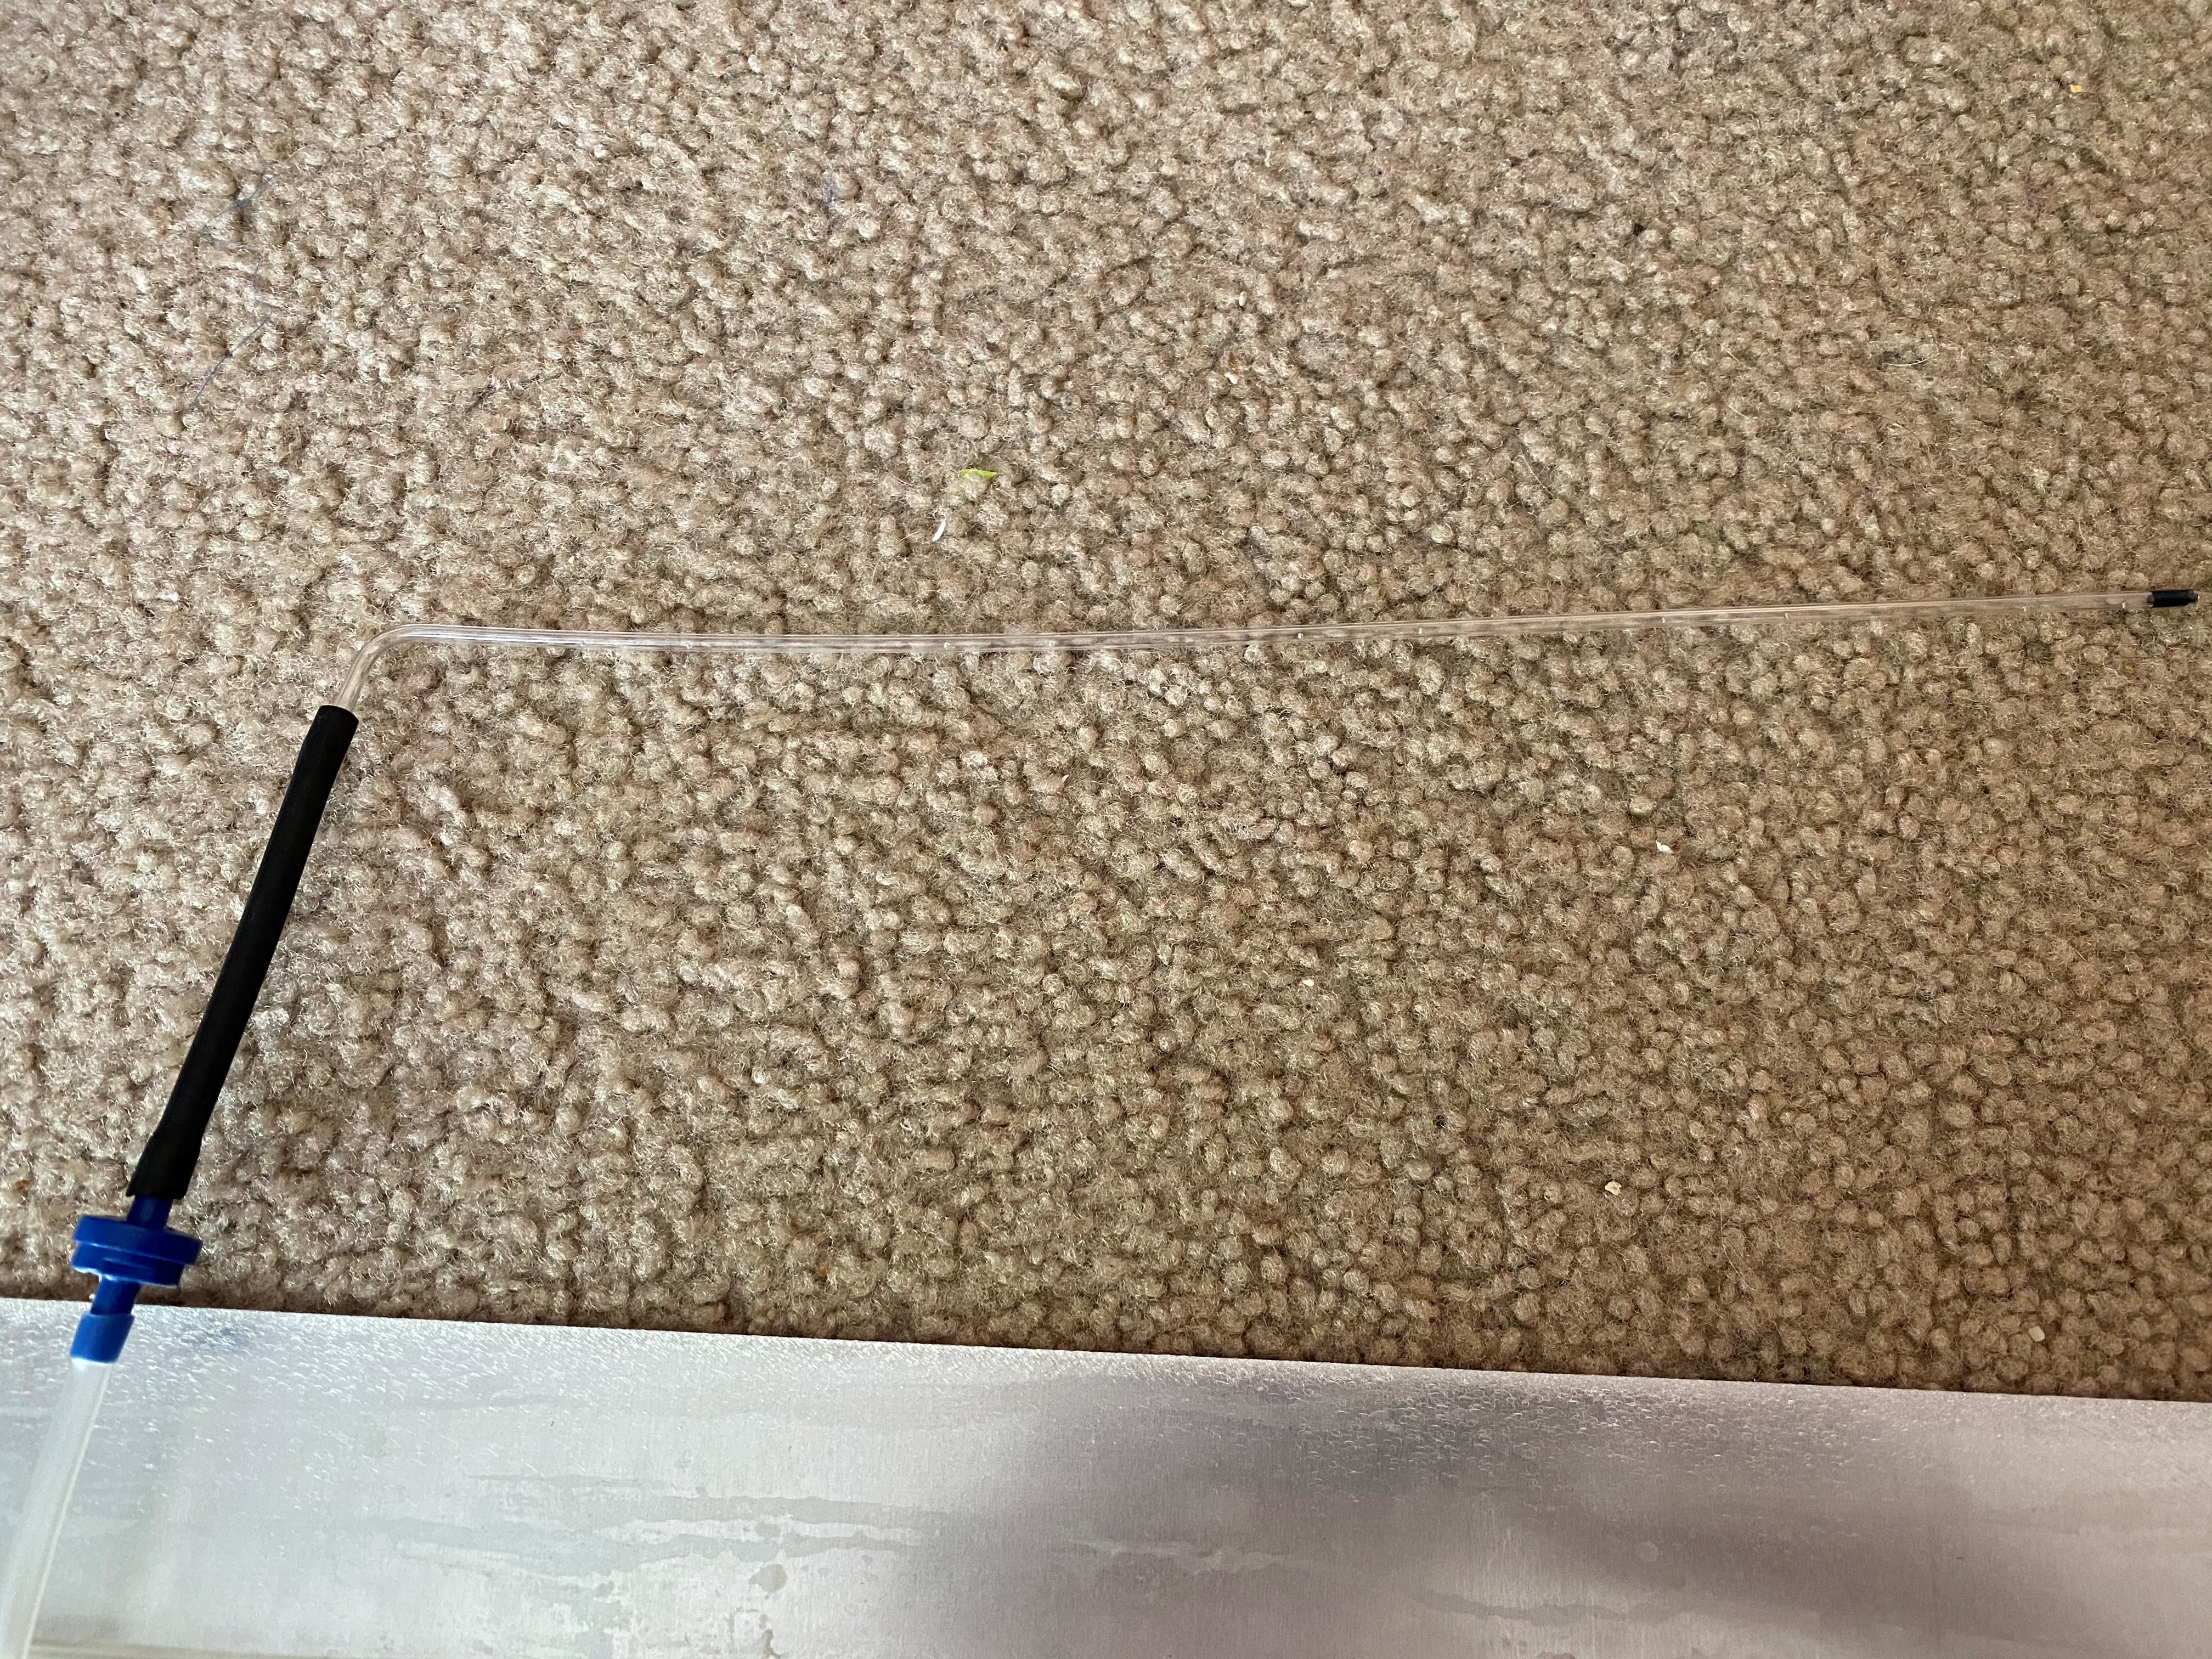
Since I specifically constructed the bubble wall so that I could replace the parts if I needed to, I decided that the only part I would have to replace would be the tubing (in case it got clogged and/or damaged). So I drilled a tiny hole big enough to fit where the bubbles were going to eventually come out from so the acrylic tubing could fit inside. I drilled a 1/4″ hole through the acrylic sheeting on the bottom of the paneling (before gluing together). I then attached a rubber grommet to the hole so it would prevent water leakage. I bought 1/4″ acrylic piping and attached a tapered plug towards the end of it. I used a thumb tack to create two holes per segment on the acrylic tube. I then used my hair dryer to create a small bend so it would attach easier to the aquarium motor tubing. Finally, I attached this to the aquarium motor parts (you can also buy these separately if you desired: clear tubing, rubber tubing, and a check valve). However, this was all included in the aquarium motor I purchased.
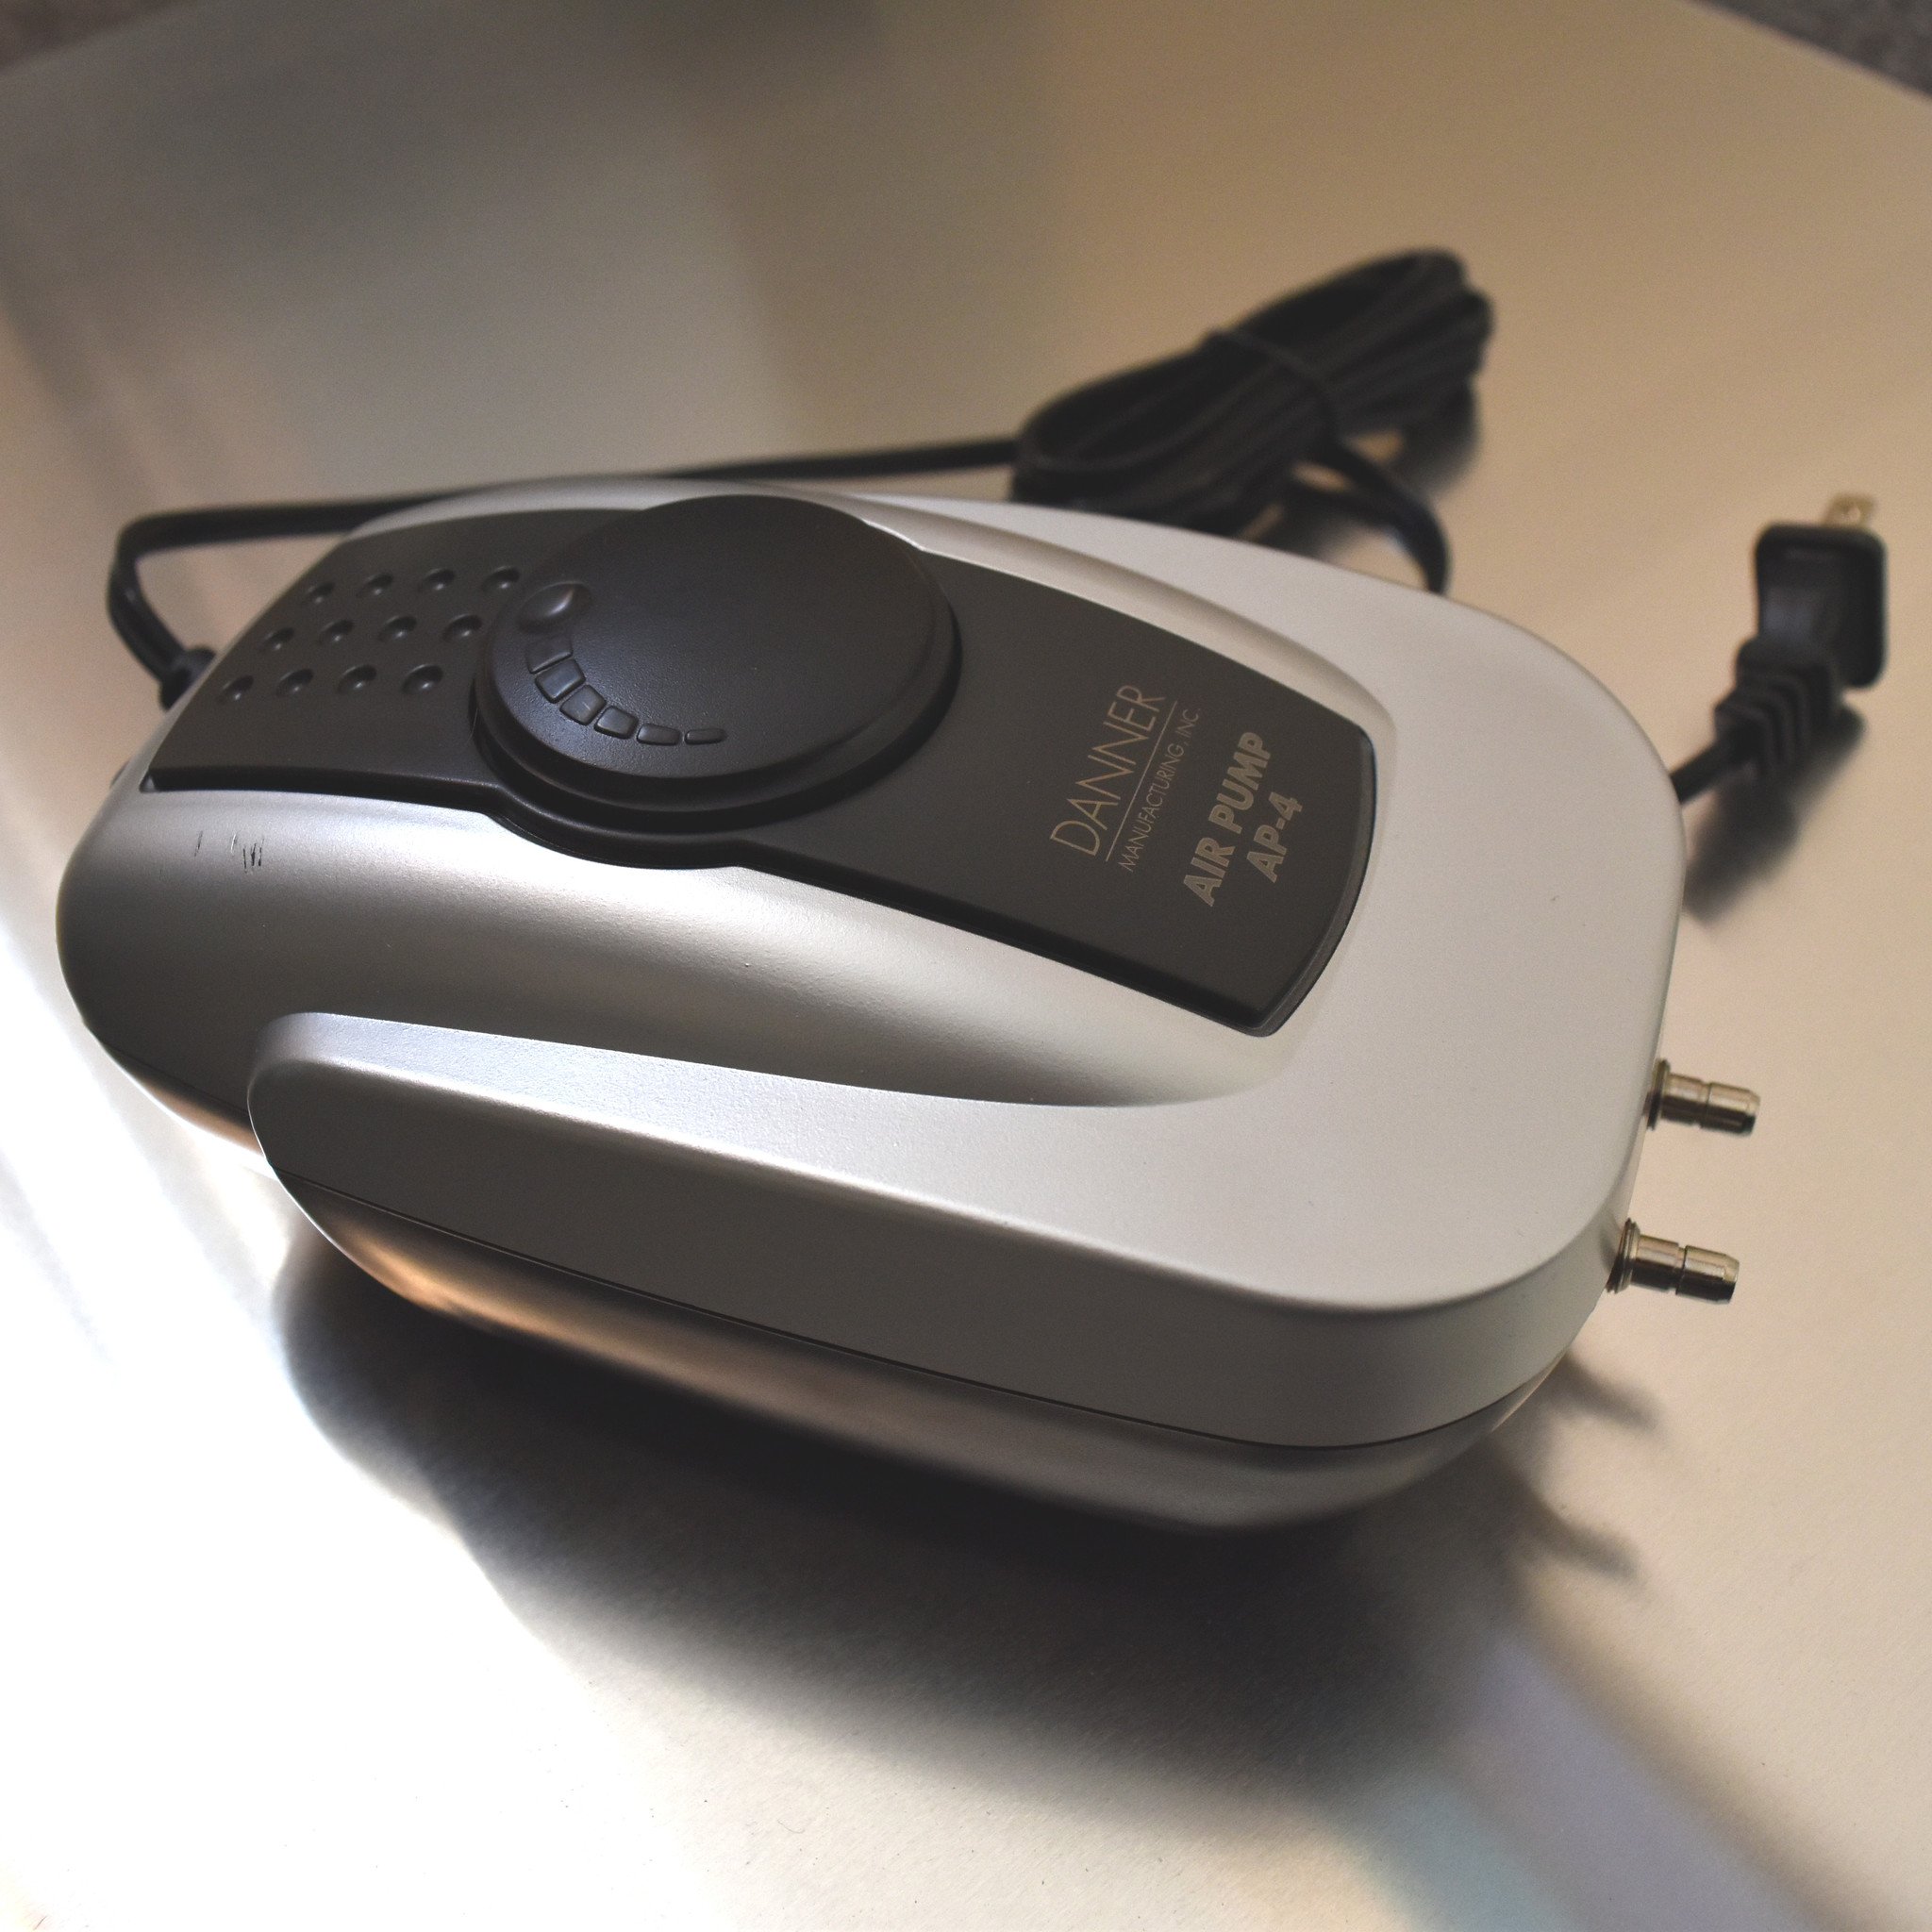
Bubble Aerator – I upgraded to the Danner Air Pump AP-4 since it has an adjustable pressure switch. This included the parts such as the tubing and check valve. I wonder if an airstone might also work similarly.
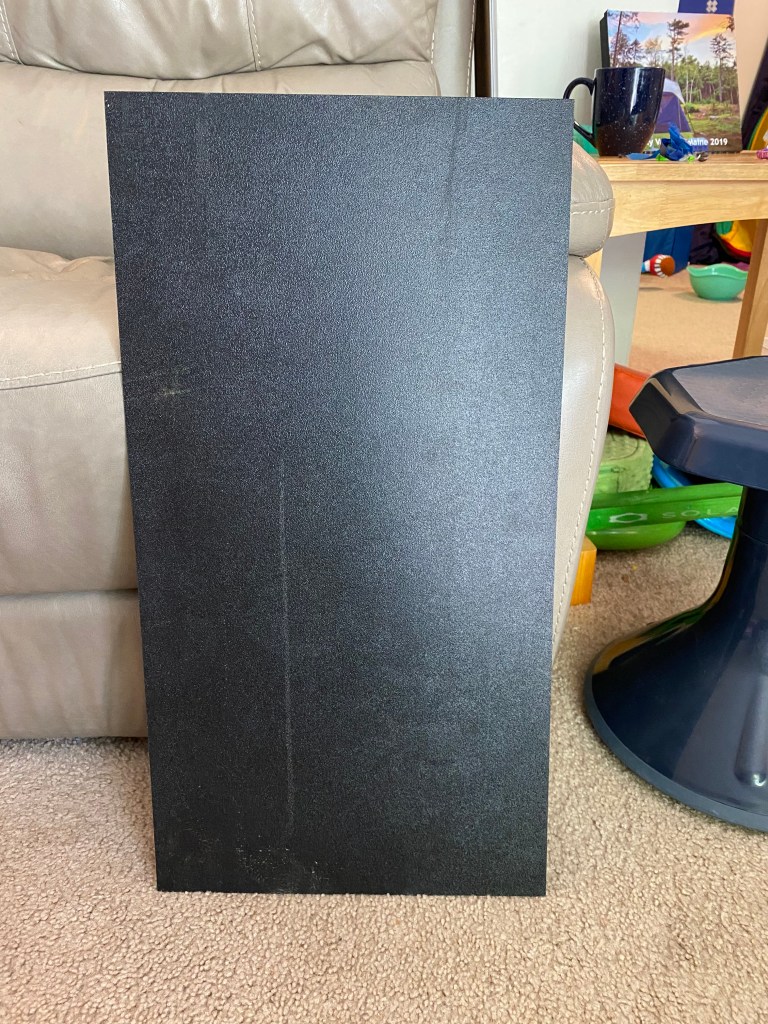
Frame – I decided on aluminum since it is lightweight and slightly reflective (for my future sensory room designs at the time!). Although before I was introduced to the world of polycarbonate, I wonder if I might have chosen a clear frame instead. Wood would obviously work very well in this instance. I absolutely decided I wanted it to hung on the wall and not on a stand, so aluminum made sense to me at the time: you can use a premium Aluminum Frame or Aluminum Sheeting to hang on the wall. I had the aluminum sheeting company make it for me with my custom dimensions. Local metal manufacturers will also do this!
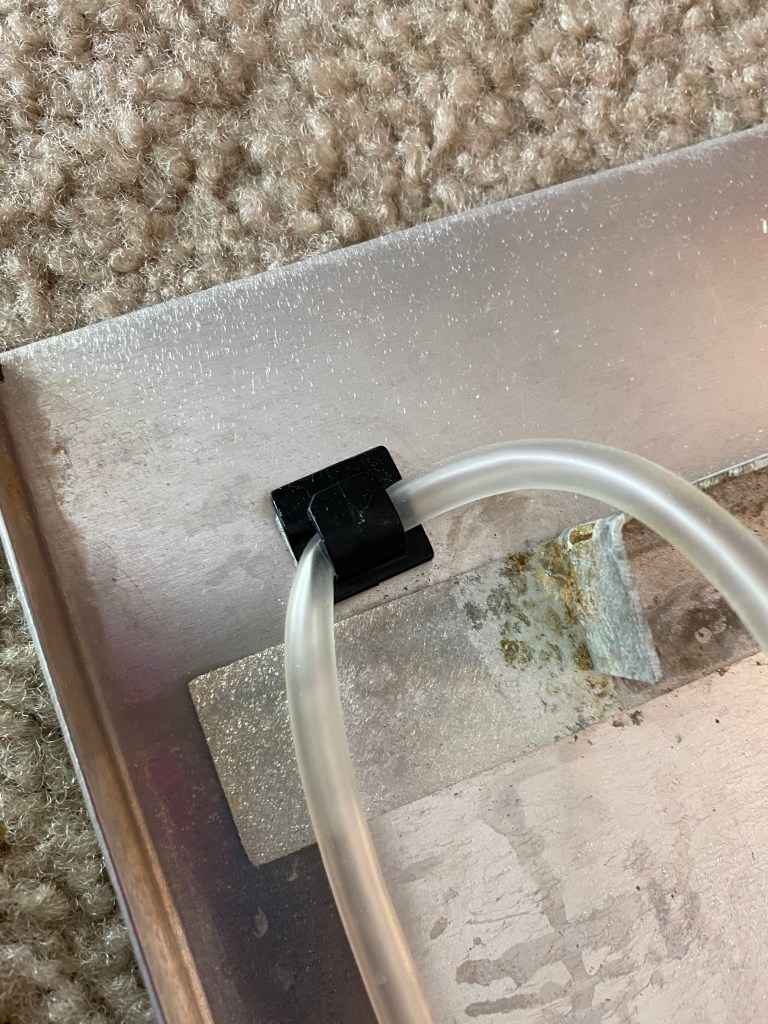
I ran the aquarium tubing around the metal frame (on the inside) using adhesive wire clips which connected to the bubble wand extension I created from the small acrylic tubing. This longer tubing connects directly to the aquarium motor.


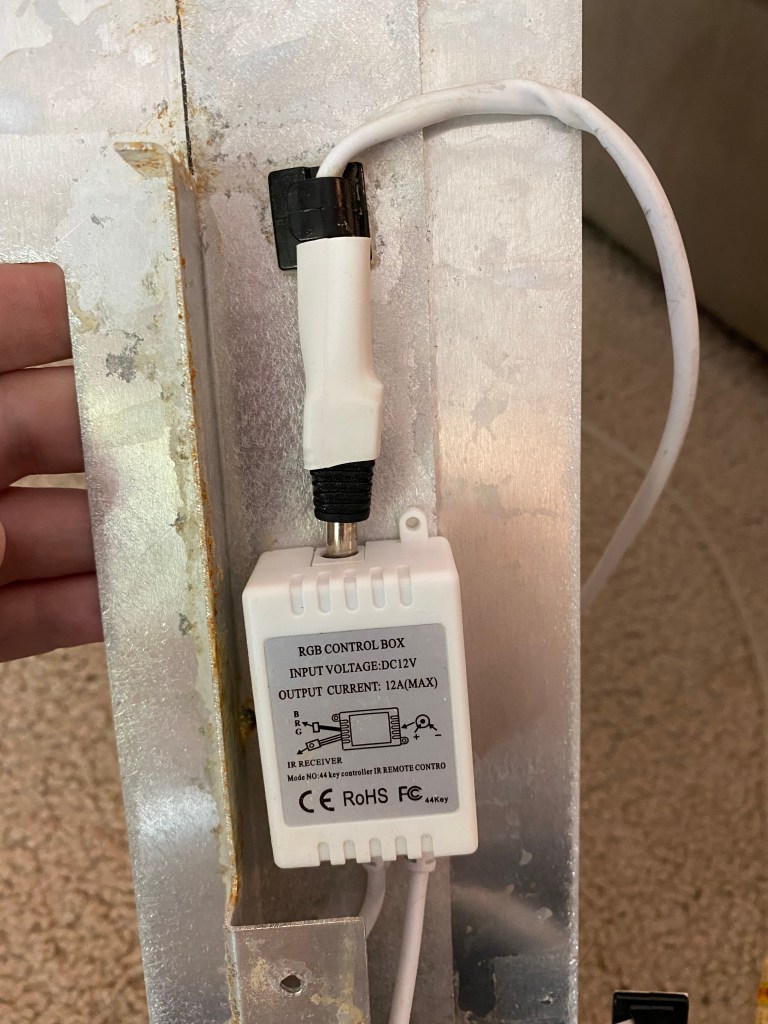
LED Lighting – LED lighting provides high performance, low voltage, and extreme efficiency compared to any other bulbs in the world. This means virtually no heat production, very little cost to operate, and great light output for your design! I chose lighting that changes color on command via the included wireless remote control unit but leave it on a regular rotation of colors. I used Velcro adhesive to connect the power unit to the underside of the aluminum frame. I also used 3 J-Channels to help cover the LED strips so that the lights pointed towards the inside of the acrylic tank. And although probably not necessary I added a layer of protection between the aluminum frame and the acrylic tank in the form of a rubber sheet. Then attached the piece of metal that would be attached to the wall on top and screwed it on to the back. I decided to ask for these holes to be 16″ apart in distance.


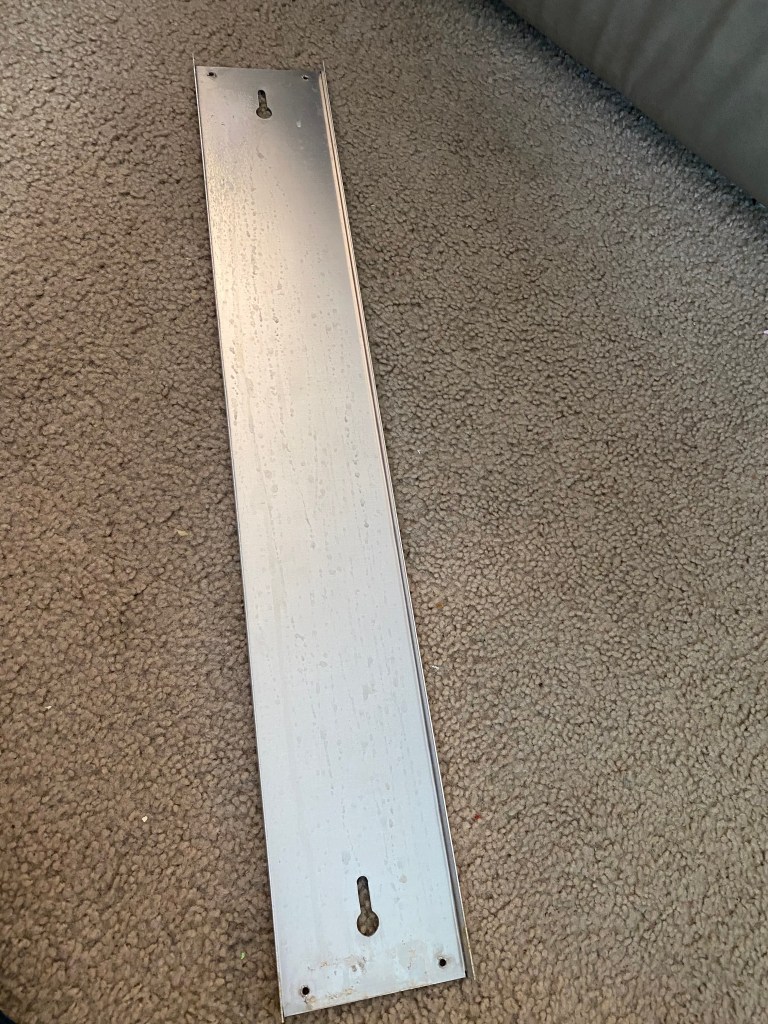
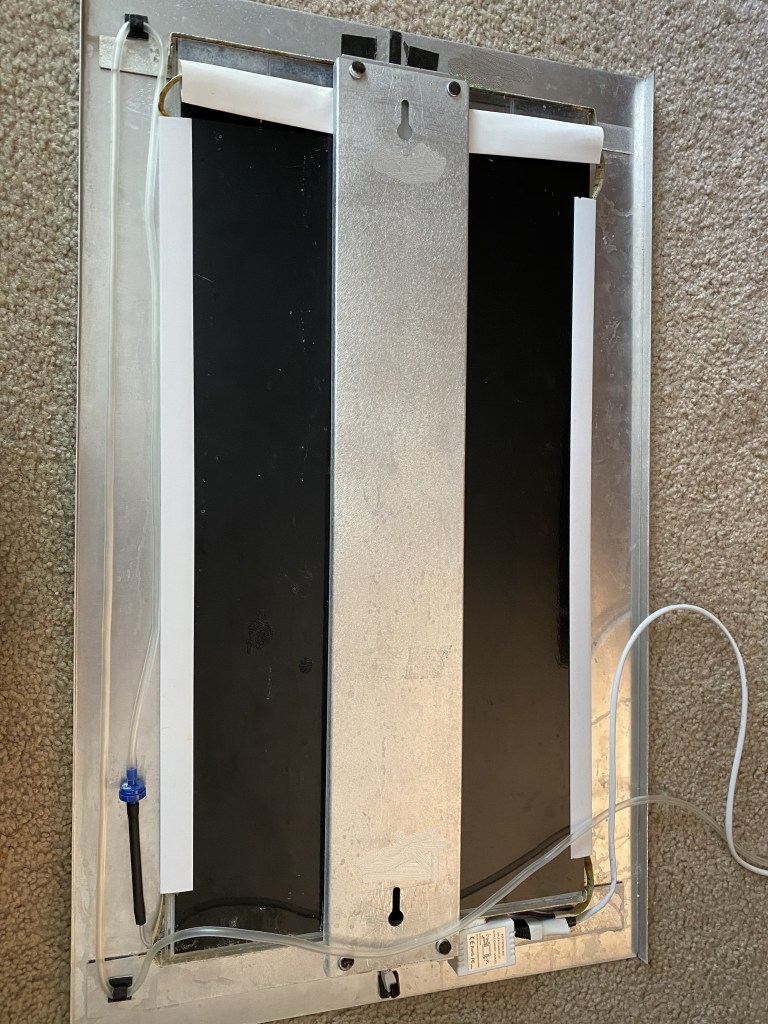
So the final product (from the back) looked like this:
Water Fill, Operation & Upkeep
- Make sure air pump is ON FIRST!!!
- Air pump power should be ON before and during water fill process
- Plug in LED lighting power supply and check for operation.
- Begin filling the unit with water. Fill about to 1/4 full with distilled water and check for leaks.
- Be sure to use DISTILLED water and the BCB Water Treatment Fluid monthly to prevent buildup. Some evaporation will happen over time so be sure to have a collection of distilled water at home.
- Enjoy the relaxing and memorizing effect of your new bubble wall!